Universal Slide Gate Instructions
Install the slide gate on the Universal.
Unplug the power supply from the Universal.
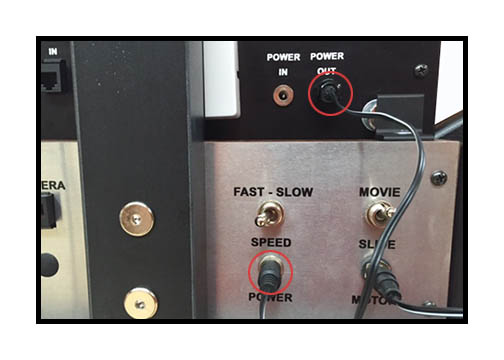
Locate the "Power Out" cable from the slide gate and plug
into the "Power" socket of the Universal as seen in the left photo.
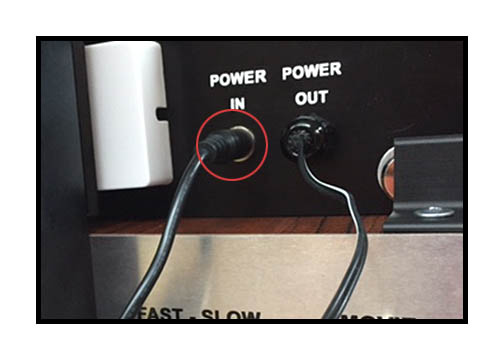
Plug the power supply into the "Power In" of the slide gate as
seen in the photo on the right.
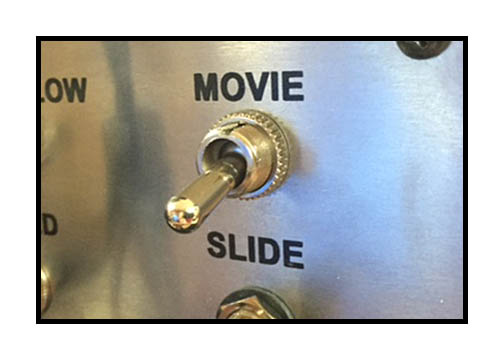
Switch the Universal from "Movie" mode to "Slide" mode.
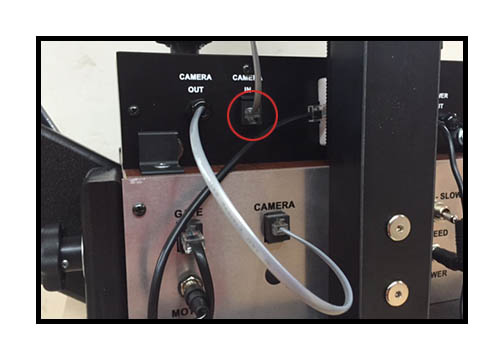
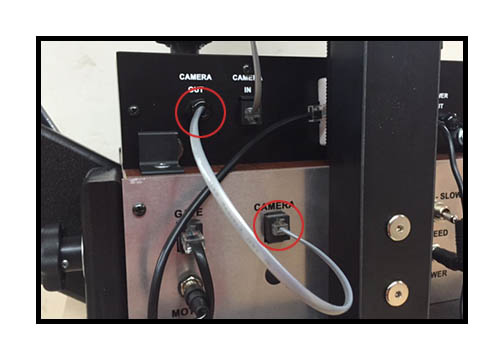
Unplug the camera cable from the Universal and plug into the
"Camera In"on the slide gate as shown in the left photo.
Locate the "Camera Out" cable and plug into the "Camera" socket
on the back of the Universal as seen in the photo on the right.
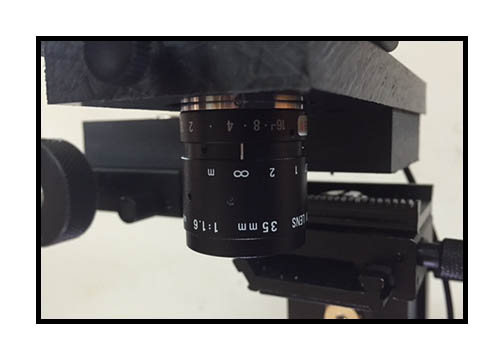
Install the provided 35mm lens. Make sure that the aperture is set to
between f4 and f8 as shown in the left photo. The focus on the lens
barrel will control the amount of crop, with OO being the widest.
You can crop in slightly by rotating the lens barrel. Greater degrees
of crop can be attained by using different combinations of lens tubes.
Focusing should be achieved by changing camera height on the column.
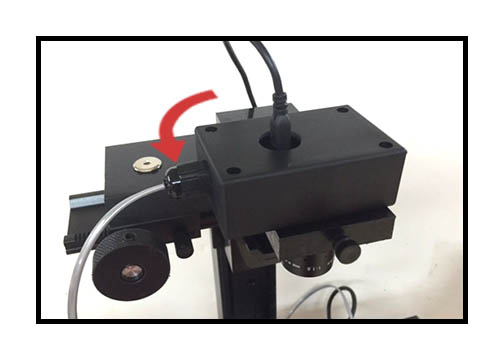
Since slides are oriented differently than movies, loosen the small set
screw and turn the camera counter-clockwise as shown in
the photo on the right and lock into position.
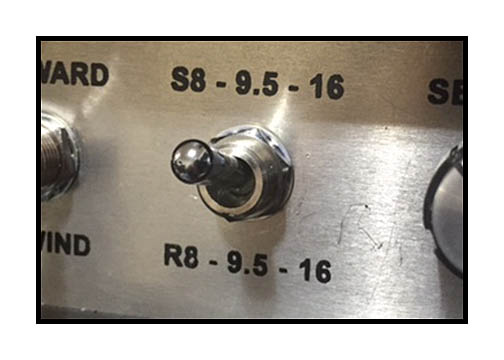
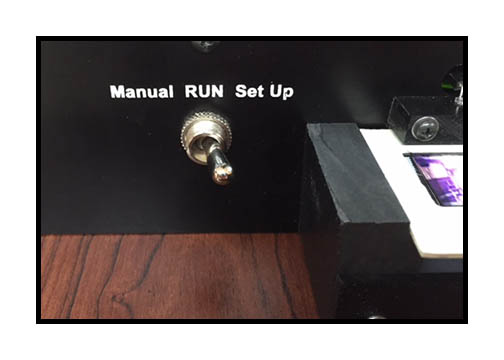
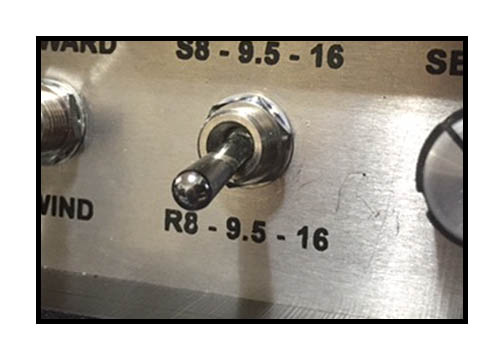
Switch the trigger selection switch to the up position.
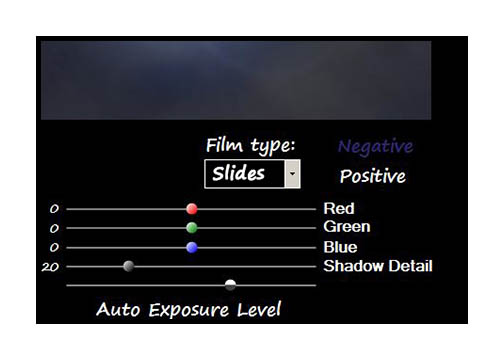
Make sure that you select "Slides" in the software.
If using the Universal in "Auto Exposure" mode, make sure
that the exposure knob is turned all the way up to full.
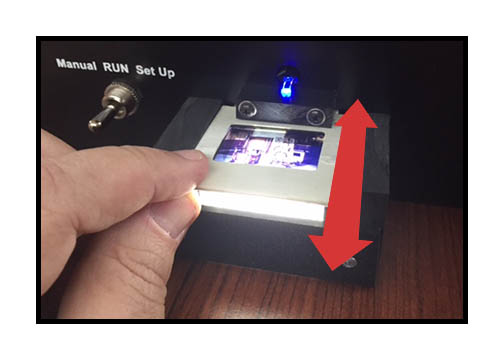
Switch the Universal to "Forward" to turn on the backlight and insert a slide.
Switch both the gate and the software to "Set Up".
You now have a live image to make adjustments for alignment and exposure.
After setting up the gate, switch it back to "RUN".
To capture, click "Start" on the software like you would a movie.
Insert a slide and watch for it to appear on the software then remove.
Each slide will be captured to an individual JPG or BMP, depending on
how you have your software set up to capture.
NOTE: While a Raid-0 array is required for capturing movies uncompressed,
slides can be captured uncompressed to a non-Raid drive with no problem.
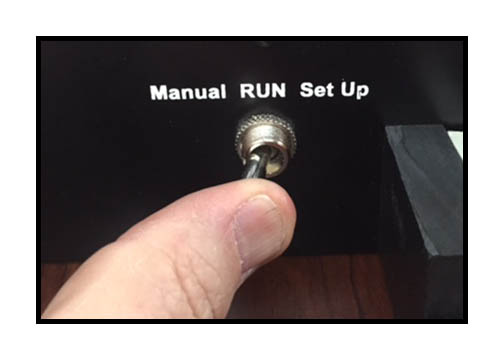
To capture manually, move the trigger selection switch to the down position.
Each toggle of the Manual switch on the gate will capture one image.
After capture, just process your album like you would any other movie.
It is advised to export as a numbered image sequence for best quality.
Helpful tip: Your NLE won't know the difference between slides or movies.
So you can use this to your advantage by importing your numbered
image sequence into your NLE where you can apply a global
correction filter like "auto levels", "sharpening" and Neat Video, etc.
This will allow you to color and density correct thousands of slides
with a single mouse click. Then export as a numbered image
sequence from your NLE as JPGs or BMPs, etc.
Click HERE to go back to Universal Instructions.