The following instructions are for setting up the Sniper-HD Pro with AUTO-SYNC.
For Velocity-HD software instructions, as well as the
connections
and set up for BlackMagic, please click HERE.
Please read carefully before attempting to use your unit.
NOTE: Do not plug in unit until directed by instructions.
If you are an international customer with 50 cycle, 220VAC
power,
you will not need a transformer. Just use an adapter
to change the plug
to your local standard.
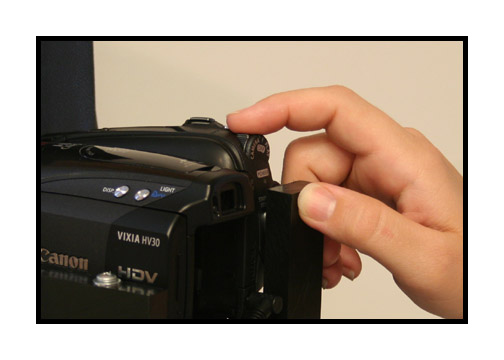
After unpacking the unit, look for the white alignment
mark on the back side
of the camera mount as seen in the picture below.
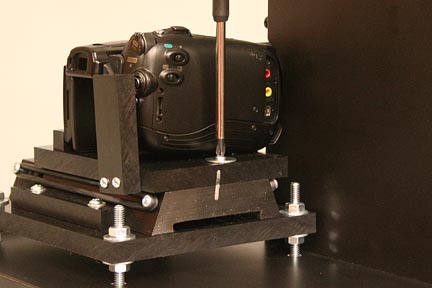
Lower the camera until the marks align.
Use a medium phillips screw driver to attach the camera
mount
to the camera compound. A firm fit is required but do
not
over-tighten or you will strip the threads. It is best
to tighten
each side a bit and alternate until firmly in place,
making sure
that the edges of the camera mount are aligned with the
edges
of the camera compound.
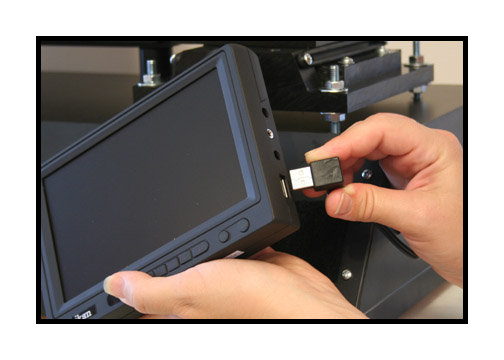
Next, plug in the cable for the monitor.
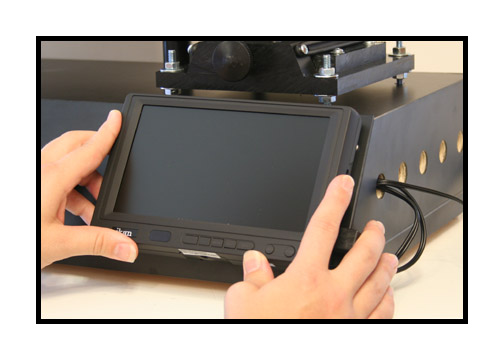
Align the monitor and press into place.
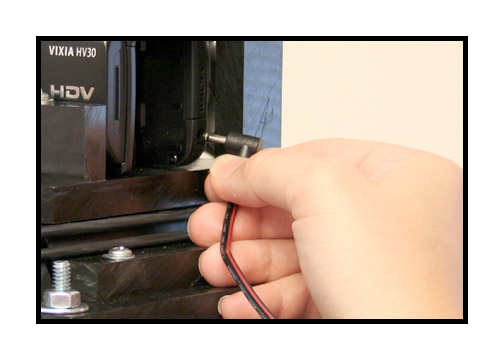
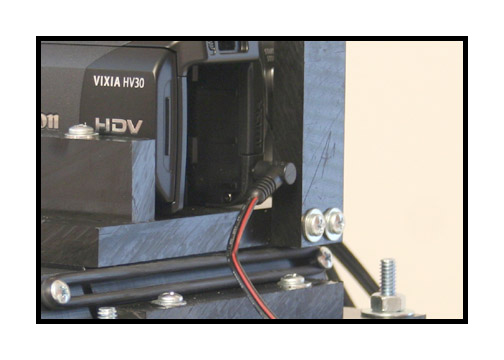
Plug camera power cable into camera as shown.
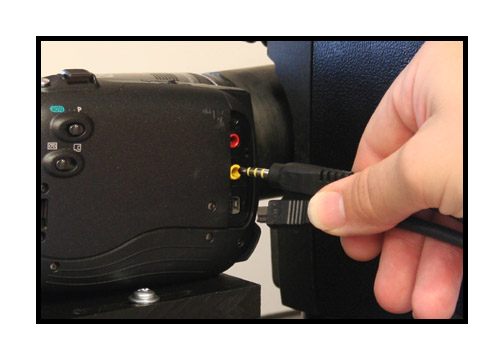
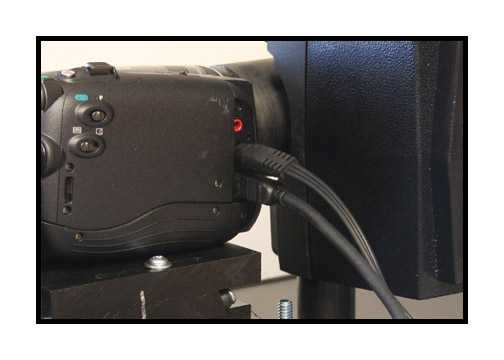
Attach both the provided Composite and RGB Component
Video
cables to the camera.
Attach the yellow Composite cable to the reference BNC
socket
in the back of the unit.
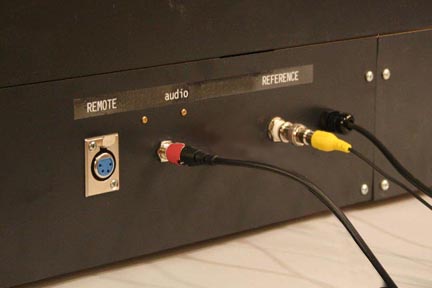
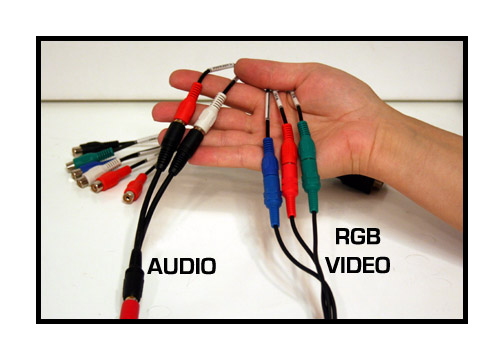
Attach the provided audio
cable to the left and right RCA jacks using the "Y" adapter
as shown.
Attach the RGB Component cables
to your Intensity Pro input harness as shown.
Attach input harness to computer.
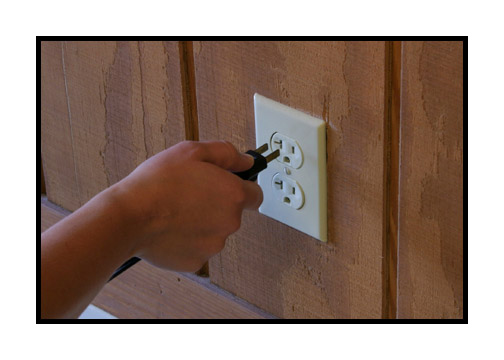
Plug unit into power.
If you are an international customer with 50 cycle, 220-240VAC
power,
you will NOT need a stepping transformer. Just use an
adaptor
to change the plug to your local standard.

Turn on the power.
The camera is shipped in the "power on" mode but
may have been accidentally turned off during packaging.
If you do
not hear the camera power up, just turn it on and leave
it on.
It will power up automatically when you turn on the unit
in the future.
NOTE: The camera has been pre-set internally for optimum
results. Please do not remove the black control guard
and
make adjustments to the camera. Also, please do not attempt
to remove the camera from the mount nor remove the lens
from the camera. This camera should not be used for recording
to tape and the eject button should never be operated.
Doing any of the above may void your warranty or incur
additional fees to re-establish settings.
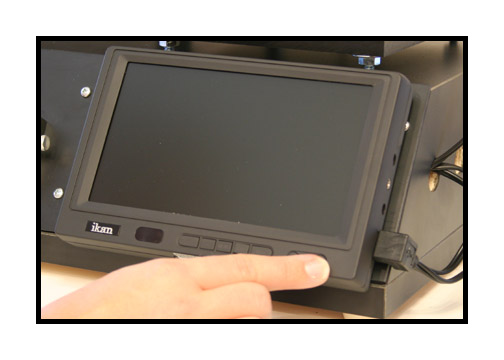
Next, turn on the monitor. The monitor will not maintain
a "power on" mode, so it will have to be turned on manually
each time you turn on the unit. The monitor should be
used
for focus and to verify a video signal. It should not
be used
to make asthetic judgements regarding exposure or color,
etc.
At this point, you need to choose between loading the unit for sound or silent film.
If you wish to load with SILENT Super 8 or SILENT regular 8mm film, click HERE.
If you wish to load with SOUND Super
8 film, click HERE.
If you have any questions regarding set up or operation
of this unit,
please feel free to call me at 830-966-4664. We have
an operator on call
24 hours a day and I will get back to you as quickly
as possible.
Or email me at moviestuff_tek@swtexas.net.
Thanks!
Roger Evans