RetroScan-HD Pro Settings
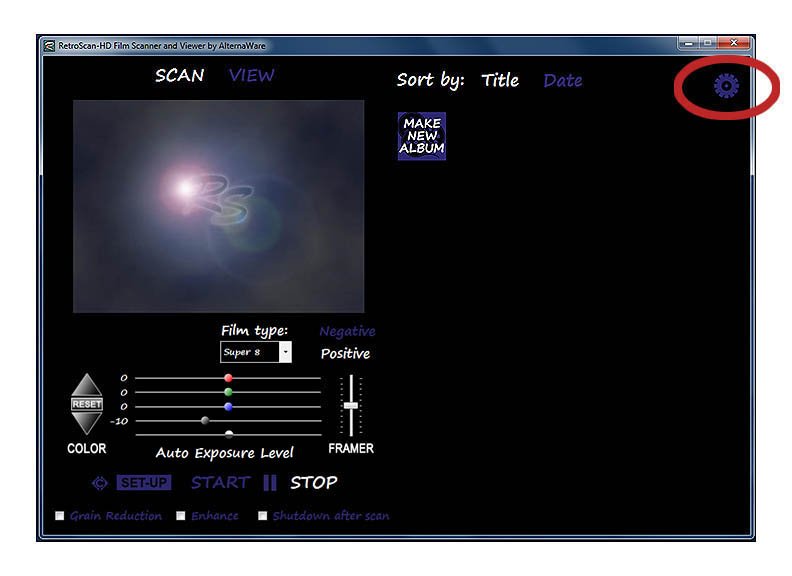
When you launch RetroScan-HD, click the Settings icon in the upper right hand corner.
The following settings box will appear. All choices are global and affect all captures and exports.
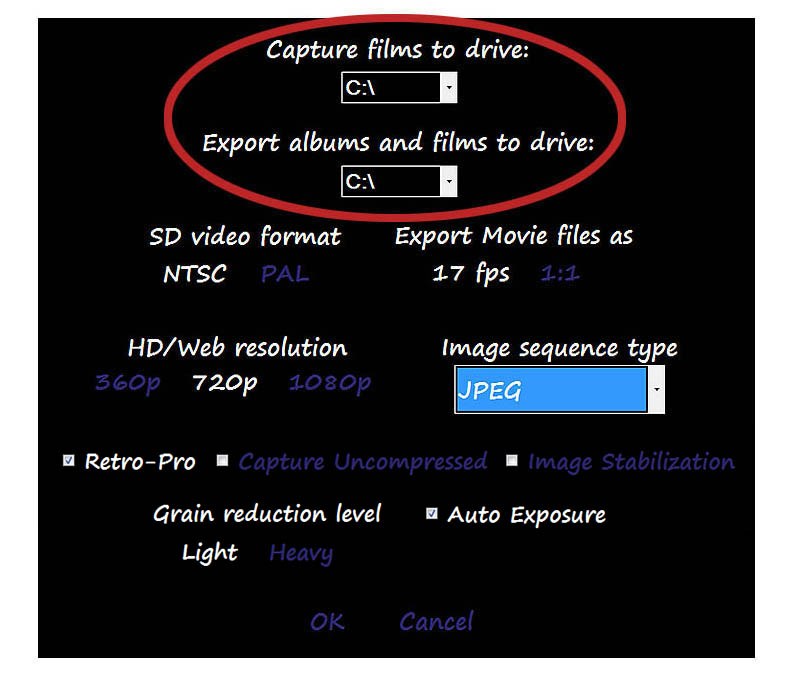
Select the drive that you wish to capture to and also the drive that you wish to export files to.
They can be the same drive or they can be different drives.
While you must capture to an internal drive, you can export to internal or external drives.
However, you can not export via a network at this time but we're working on it.
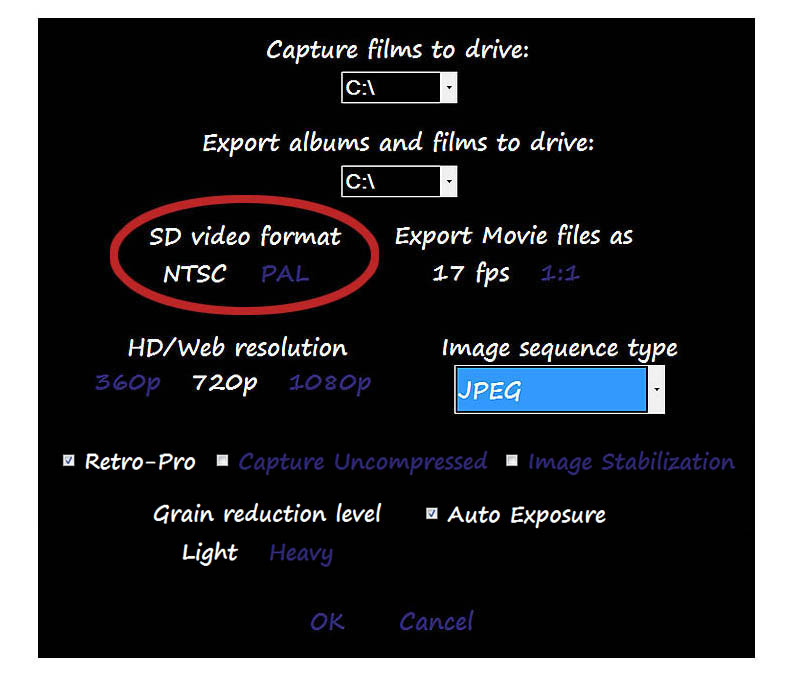
RetroScan-HD initially stores everything in 720p HD and then will output HD or SD files.
Click on the standard definition (SD) format that is correct for your location.
NTSC is usually North America and Japan.
PAL is usually UK and Europe.
The files captured by RetroScan-HD are not actual movie files. They are a series of high resolution still frames.
The RetroScan-HD player will let you view those still frames fast enough to see motion but, if you wish to
edit them on your Mac or PC or wish to view them on the internet, then you will need to export a video of each file.
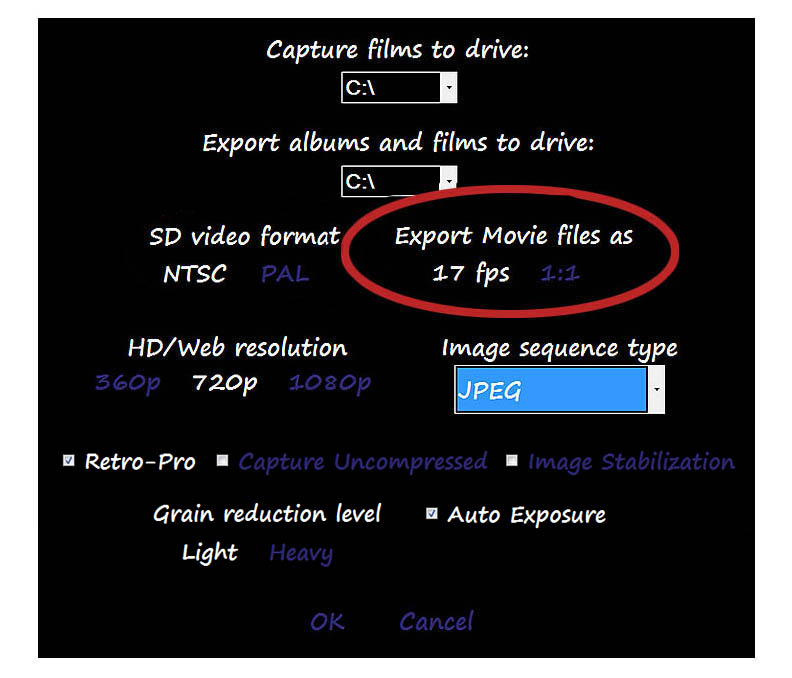
You can export your video with a built-in speed of 17fps or you can export without a speed, which would put
each frame of film on a separate video frame (1:1). Then you can apply any speed you wish on your computer edit system.
NOTE: the 17fps speed applies only to .MOV video files and not image sequences,
which are inherently 1:1 with no speed applied.

Select the desired resolution for your exported files.
360p is great for internet viewing or running through iTunes, etc, but not for editing.
720p and 1080p should be used for edit programs that can handle high definition.
720p is also the default resolution for Vimeo and other online viewing services.
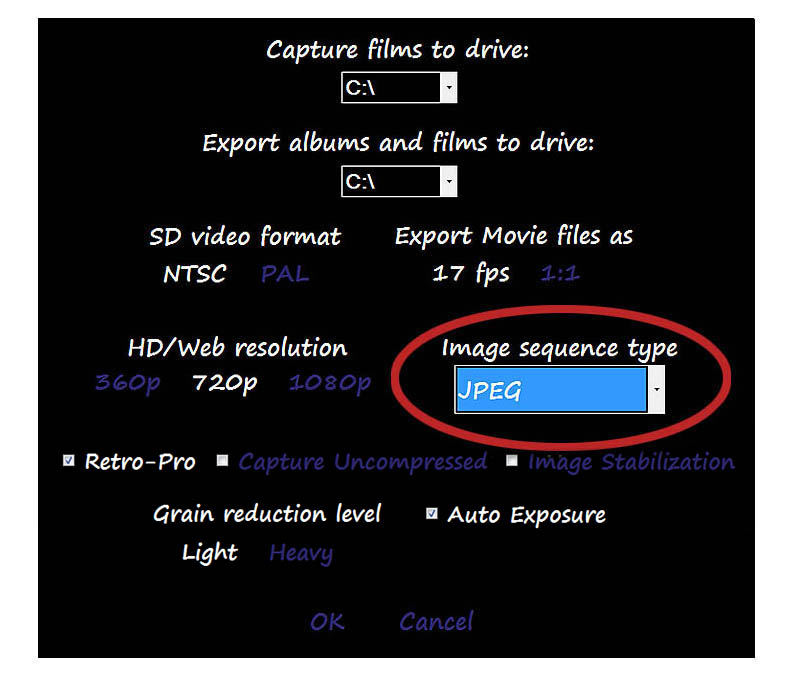
For highest quality, you can export as a numbered image sequence,
which puts each frame of film on a separate digital still frame in a folder.
A numbered image sequence can be imported into most any computer edit system
which will automatically string the separate images together to create a video movie file.
From smallest file size to largest, they are JPEG, PNG, BMP and TIF.
Most people use JPEG. Just use the drop down menu to make your choice.
If capturing uncompressed and you wish to stay uncompressed, then
you would need to export PNG, BMP or TIF.
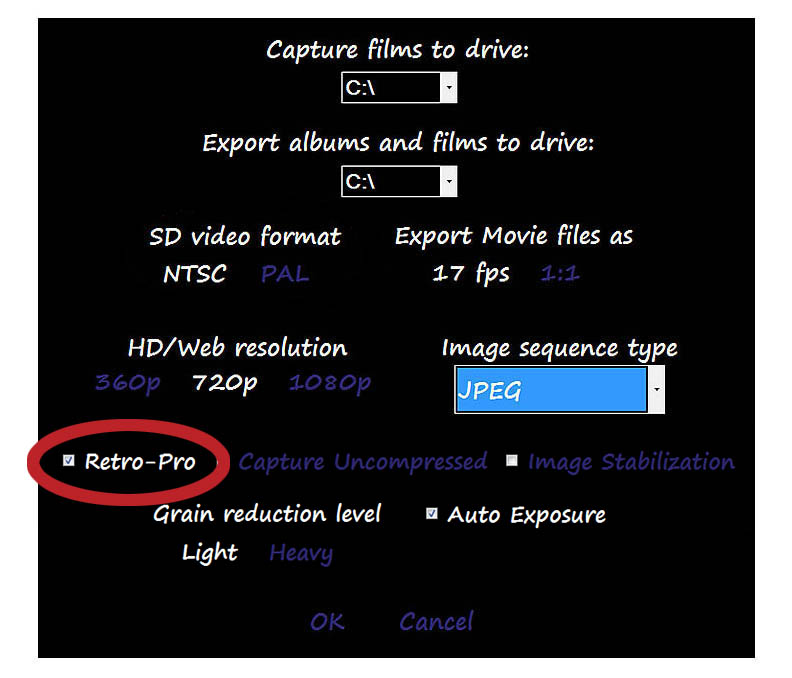
While the RetroScan-HD Pro software will work with both the older 2fps Retro units and
also the newer 15fps Retro Pro units, the default setting is for the Retro Pro. Unchecking
this box will allow you to use this software with the older 2fps Retro units.
However, it should be noted that software features available for the Retro Pro
series is not available for the 2fps Retro series.
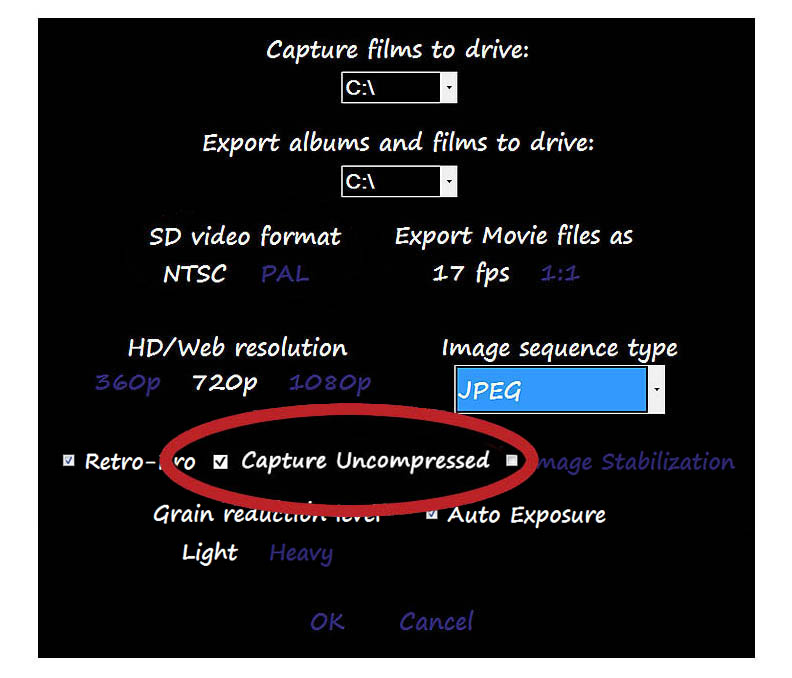
RetroScan-HD can capture in both compressed or uncompressed formats.
The default setting is for compressed, where every frame is stored as a hi-resolution JPEG.
Checking the box will allow you to capture uncompressed, where each frame is a BMP.
NOTE: Uncompressed capture files are about 10x the size of compressed.
50 feet of 8mm and 100 feet of 16mm compressed would be about 700-800 megs.
50 feet of 8mm and 100 feet of 16mm uncompressed would be about 70-80 gigs.
Please note: You must have a high speed, internal drive to capture in uncompressed.
This can be a classic internal Raid-0 drive array or an internal solid state drive.
While the Raid-0 array always works, not all solid states drives will provide
acceptable performance for uncompressed, so you might need to test for best results.
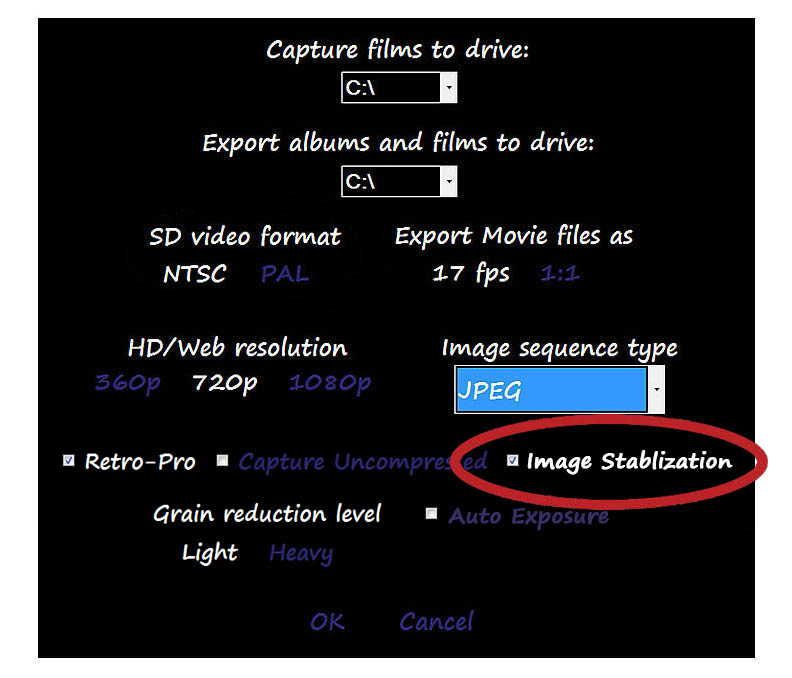
Image stabilization is normally turned off for most movie transfers.
When activated, the software will find the sprocket hole edges and
align the picture perfectly on every frame, with accuracy within
a single pixel. However, image stabilization can only be used with
manual exposure and care must be taken to ensure that highlights
that might intersect with the sprocket holes do not get blown out
or the software will not be able to "see" the sprocket holes.
If this happens, improper registration can occur. It is best to turn
the exposure down so that grain in the highlights is still visible.
If image stabilization is turned off, then any exposure can be selected
without affecting registration of the image.
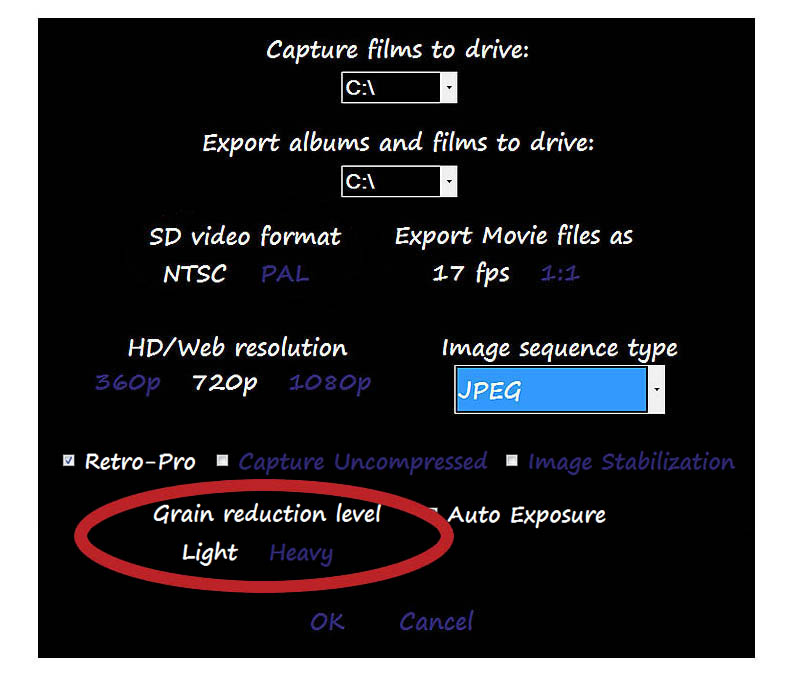
Choose the level of grain reduction you prefer when it is employed during capture.
This can be previewed in the set up mode of the capture control panel.
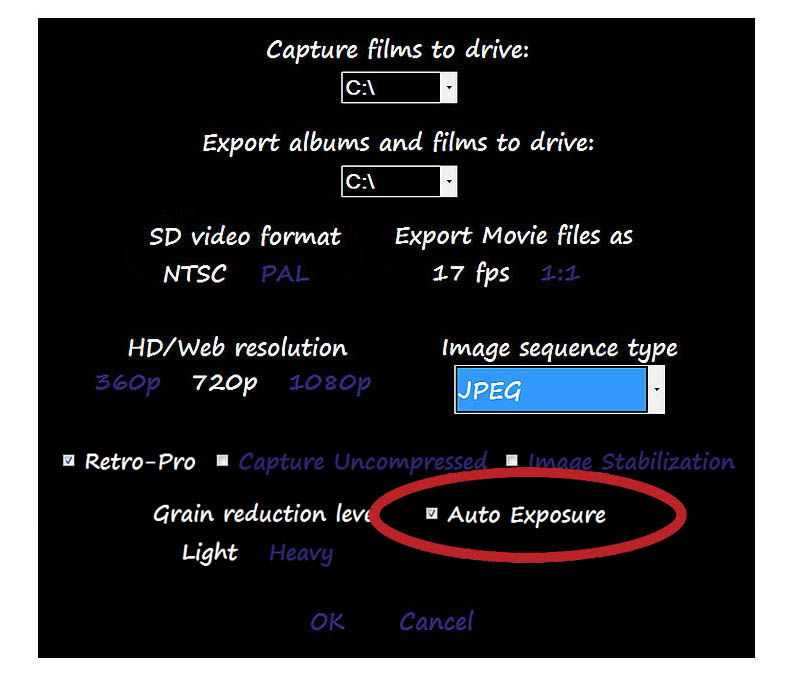
Auto exposure function will monitor the threshold set by the user during capture.
If the density of the film falls below that threshold, then auto exposure will
correct by increasing the sensitivity of the chip slightly. When the underexposed
footage has passed, then auto exposure will return to normal.
Click HERE to go back to RetroScan-HD Instructions.
All information and imagery copyright 2013 MovieStuff, LLC
All right reserved.