RetroScan-HD Pro Capture
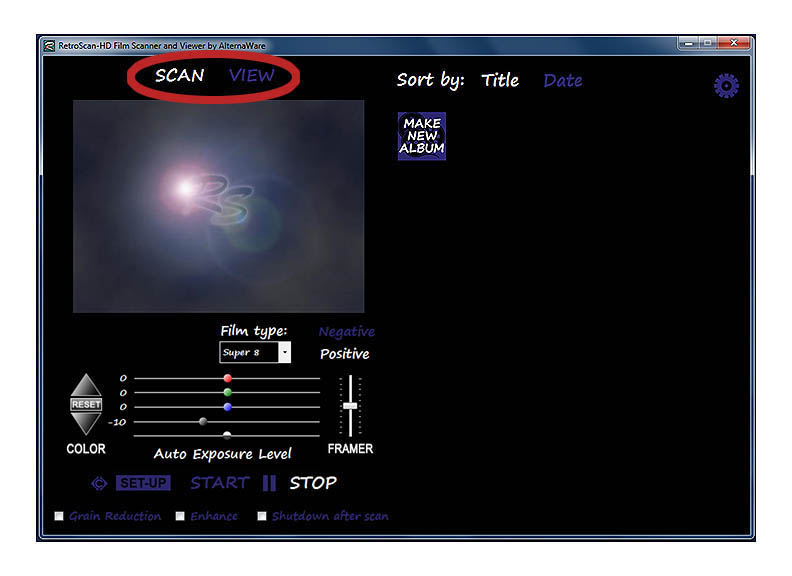
These controls let you toggle between the scanning function and the viewing function.
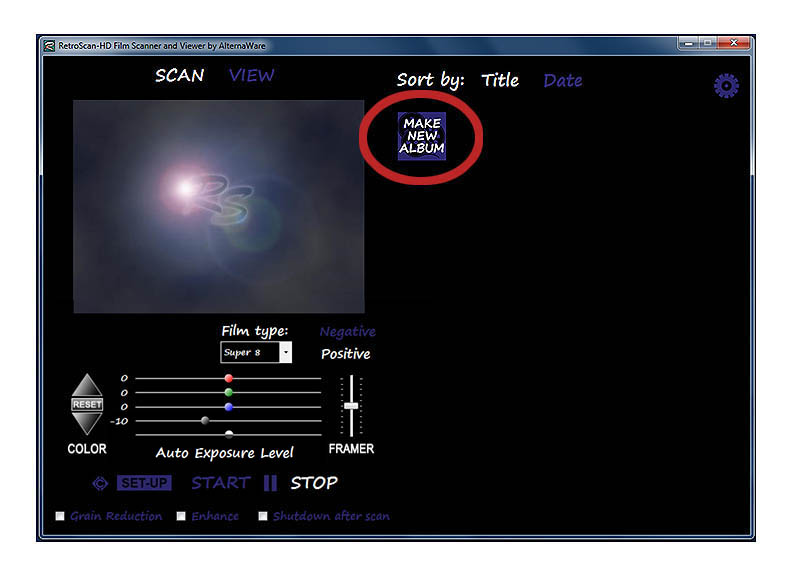
Before you can scan any movie, you must create an album to put it in.
Click on the "Make New Album" icon and fill out the necessary fields to create an album.
Then click on the album to open it. You can not capture unless you open the desired album.
Album information can be changed later by right clicking on the album.
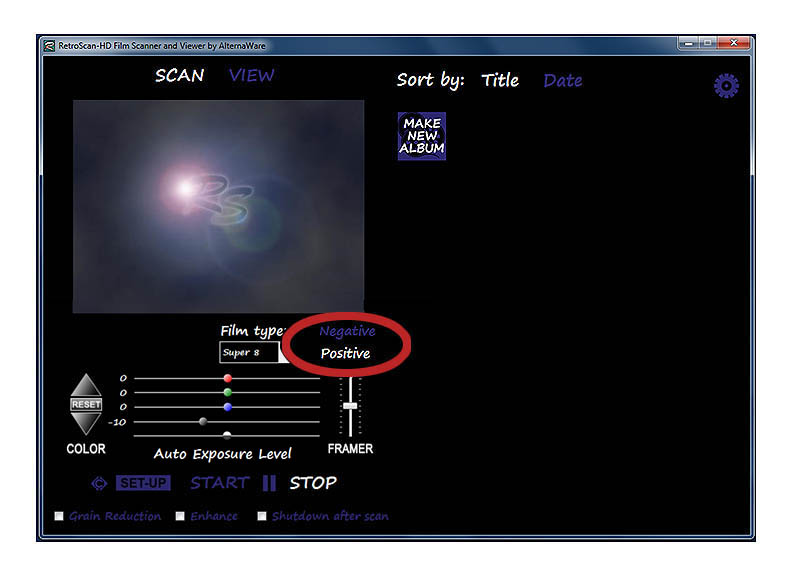
Old home movies are always "Positive", which is the default state for the software.
"Negative" should be selected when transferring modern color negative.
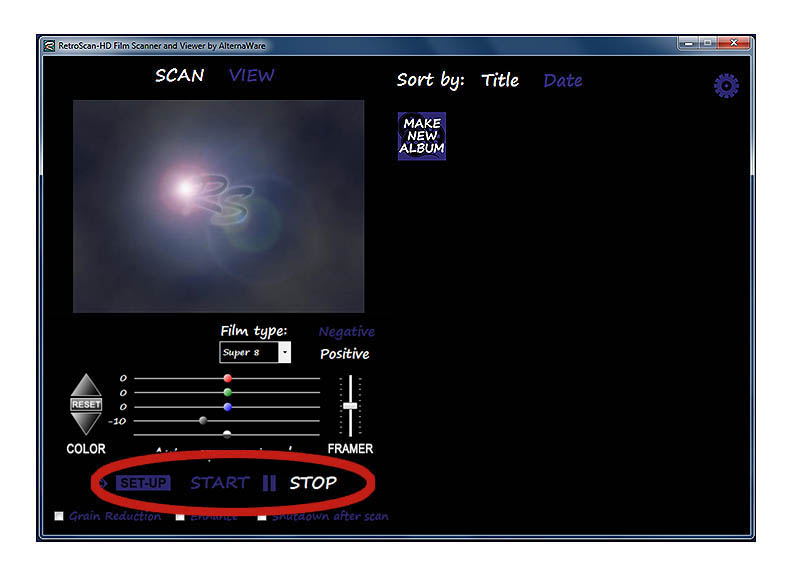
The "Set-Up" button lets you run the scanner and see the image as if you were capturing but without actually
writing anything to the hard drive. This will let you preview the image while you make adjustments to
color, framing, etc. Click "Set-Up" a second time to end the preview.
NOTE: You will not see any image in set up unless you are actually running film in the unit.
The "Start" button will begin your actual scan and the "Stop" button will end your scan.
In between "Start" and "Stop" is a pause symbol "II", which will let you pause the recording.
Press the pause symbol to pause the recording. Press the pause symbol again to resume recording.
NOTE: You can not go directly from pause to "Start" or "Stop".
Pause is handy should you need to repair a broken splice and want to resume transferring
or if you want to pause the recording between rolls of film for easier file management.
After you stop the scan, a box will pop up that lets you name and number the file, along with a brief description.
The information can be changed by right clicking on the file to relaunch the dialog box.
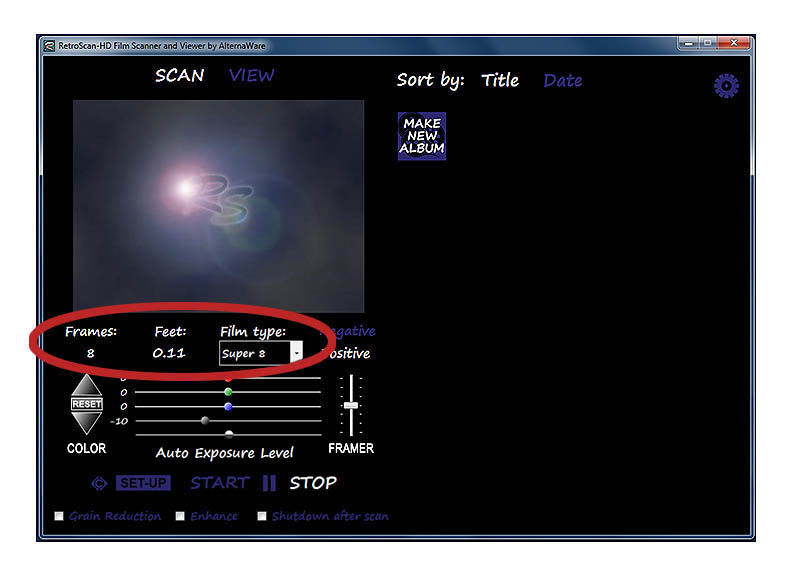
This information is what you see during an actual capture session.
The RetroScan-HD Pro software will not automatically detect changes in film formats.
Use the drop down menu under "Film Type" to select which format you are transferring.
NOTE: If you choose the wrong format, you will not hurt anything but the capture will not work properly.
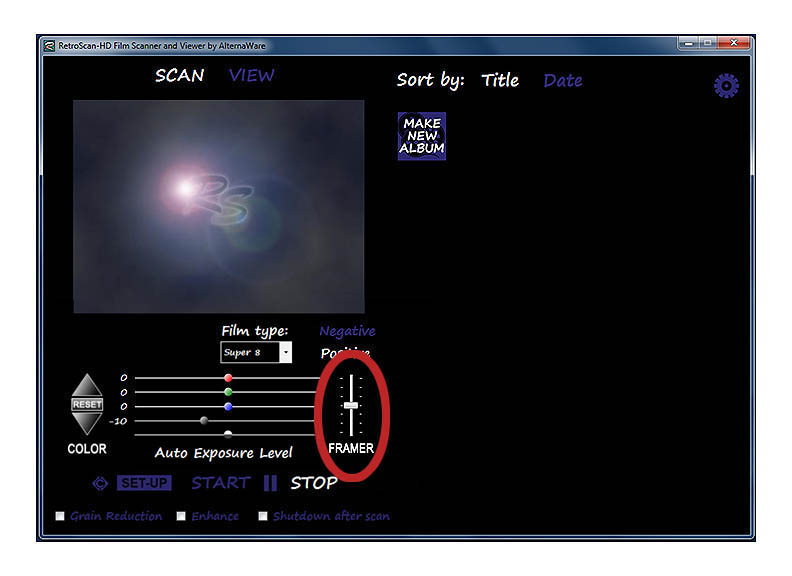
This lets you adjust the frame line up and down when transferring with image stabilization turned on.
All adjustments work only while the software is either in "Set Up" mode or during
an actual capture. The software will remember framer position between capture sessions.
When image stabilization is turned off, the framer slider is locked and all adjustments should be made
by turning the brass framer knob on the unit.
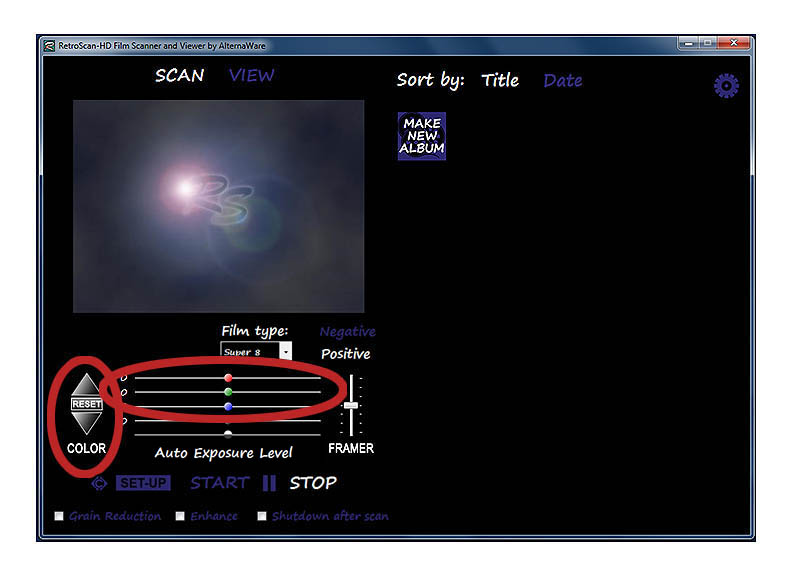
The Red-Green-Blue sliders can be changed before or during capture to alter color.
The up and down keys to the left move all RGB sliders together.
"RESET" brings all RGB sliders back to center.
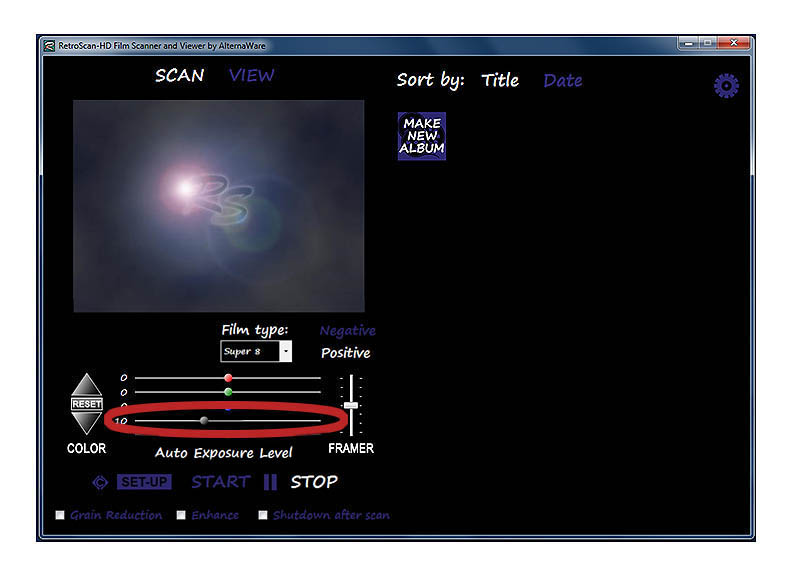
The gradated slider adjusts brightness (gamma) and is not affected by the "RESET" button.
This is useful for bringing out detail in the shadow areas of old home movies
and also for adjusting the contrast of modern color negative.
It is preset to a -10 position for most transfers but can be adjusted as desired.
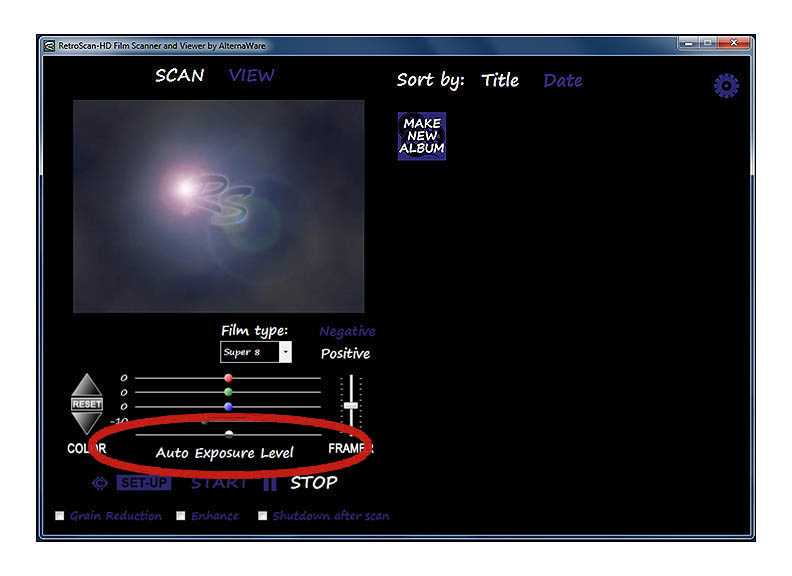
The auto exposure slider adjusts the threshold for when the auto exposure function
will kick in during transfer. Normally, you should set your exposure knob on
the unit to the middle position (12:00) when using auto exposure.
The auto exposure slider has been preset for most films but is adjustable.
Run what you would consider normal film and adjust the slider until you
like what you see. For all footage with that exposure level and above,
the auto exposure function will sit idle. If footage with exposure below that
level appears, the auto exposure function will increase the sensitivity of the
camera slightly to compensate. When the darker footage has passed, the
auto exposure function will return to idle.
NOTE: Auto exposure is only available with image stabilization turned off.
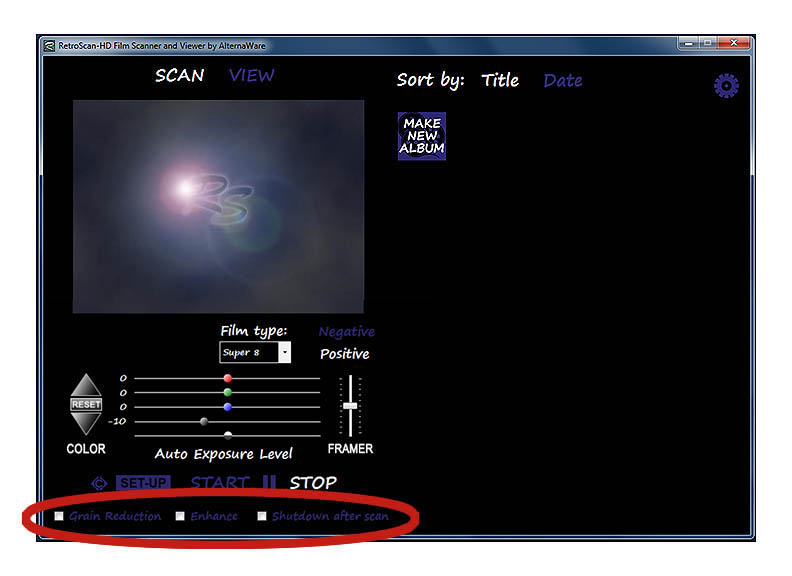
"Grain Reduction" will make the grain of the film less noticeable by
reducing the degree of sharpening applied to each frame.
"Enhance" automatically raises detail in darker areas while protecting highlights.
This is handy if you have darker film or film with a wide range of exposures.
"Shutdown" will turn off the PC after the scan has completed or the unit stops.
This is useful if starting a scan to run when you are away.
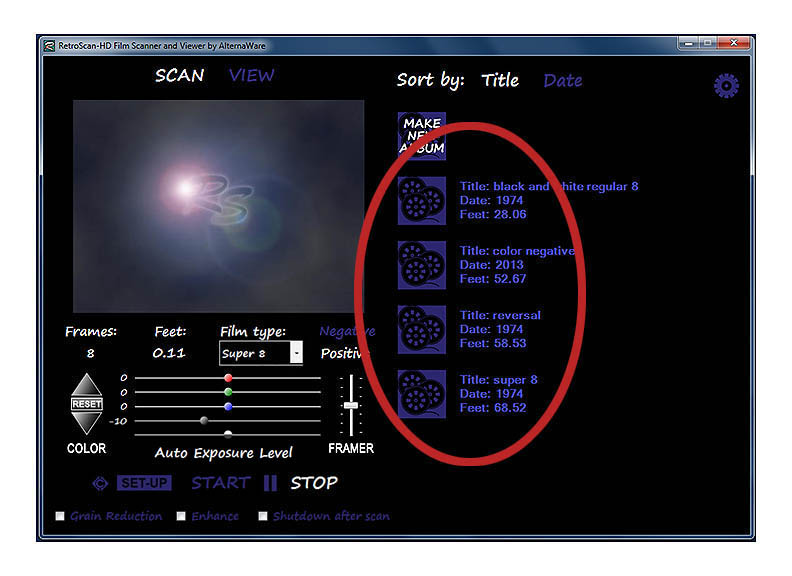
Albums created will show up one above the other and can be sorted by title or date.
Click HERE to go back to RetroScan-HD Pro Instructions.
All information and imagery copyright 2014 MovieStuff, LLC
All right reserved.