Unpack
the unit but do NOT plug it in
until
instructed to do so.
You will need the
following:
7/16th flat wrench
1/8th allen wrench
(also called hex key)
medium sized phillips
screwdriver
Sharp, bright, 35mm
horizontal slides loaded in a tray
Digital Rebel EOS,
XT, XTi or XSi (D450)
Canon
18-55mm zoom lens and the Canon EF25 II Extension Tube (not included)
Flashcard 512 megs
or bigger.
Power supply or freshly
charged battery.
Video cable that
came with camera.
Photoshop or similar
imaging program is recommended.
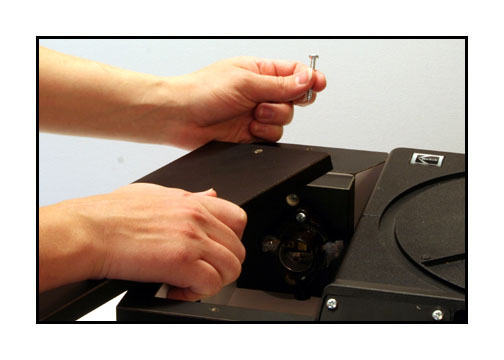
Remove cover.
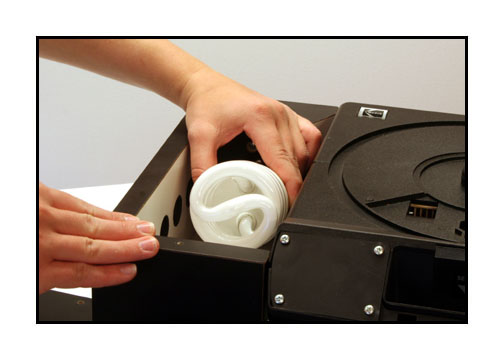
Install lamp.
Replace screws.

Attach monitor cables.
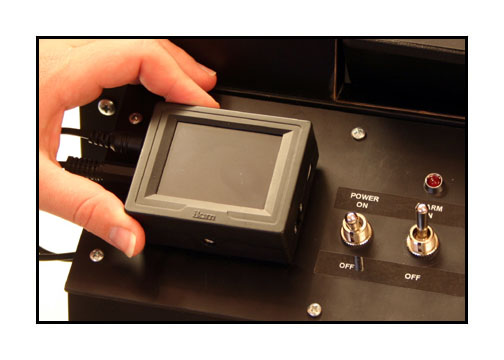
Attach monitor.
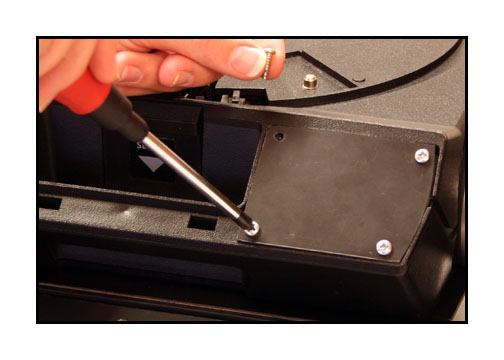
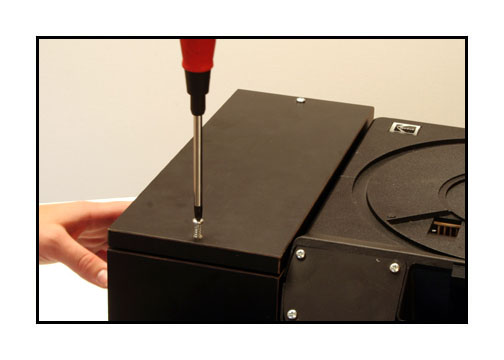
Remove screws from
panel.
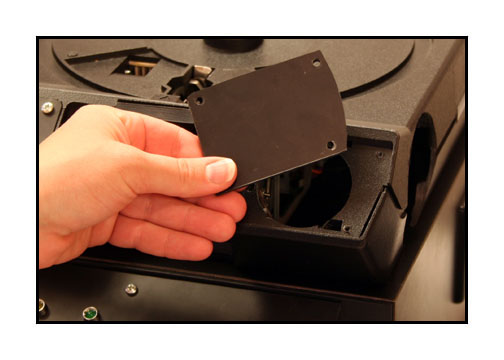
Remove panel and
set aside.
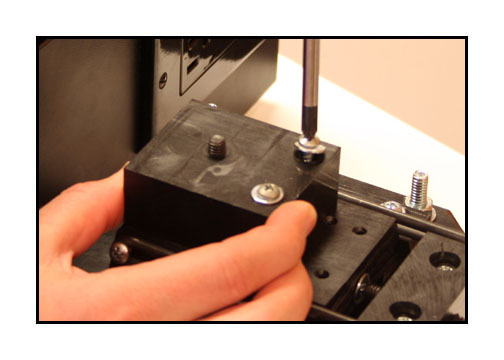
Remove camera mounting
block screws.
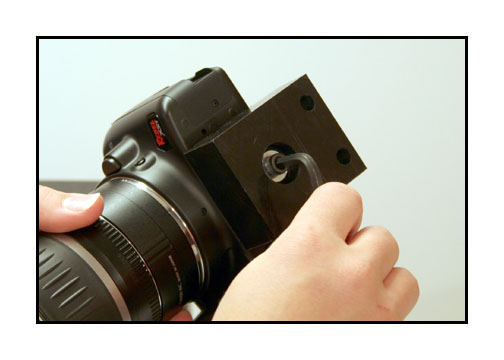
Mount camera snugly
to camera block.
Take care to keep
block square to camera body.

Adjust zoom to 55mm
position.
(Don't forget the
extension tube!)

Tape zoom securely
in place so it will not rotate.
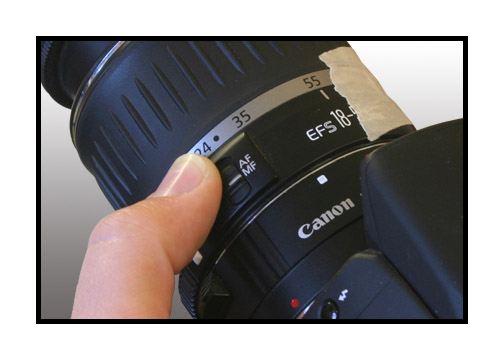
Lock lens in MANUAL
FOCUS position.
If you have a power
supply for the camera, now is the
time to install it.
If not, install a freshly charged battery.
Consult your camera
instructions and put the camera
into the following
settings:
A/V Mode on the top
dial
ASA (ISO) 100
White Balance on
tungsten (the light bulb icon)
Set display duration
for constant.
Make sure that the
histogram function is off.
Set the aperture
to f22 (very important!)
Set the a/v settings
to -1 stop underexposure.
Set the quality settings
to high.
(Use the quarter
circle icon that is smooth, not stair-stepped)

Mount camera firmly
but do not overtighten the screws.
NOTE: There are several
sets of mounting holes.
For Canons using
the 18-55mm lens and extension tube,
use the third set
as shown. If using the 50mm macro lens
only, then use the
first set of holes. Some experimentation
may be required to
determine the best mounting position.
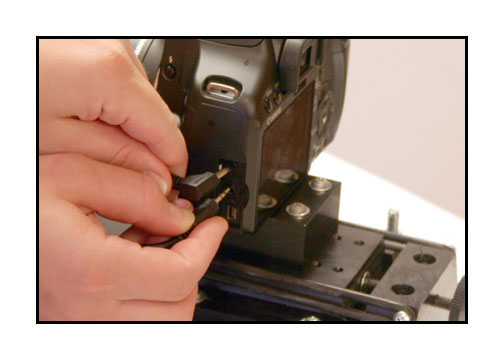
Plug the camera cables
into the side of the camera.
One cable will be
the remote, which is already attached
to the side of the
SlideStream and the other will
be the video cable
that came with your camera.
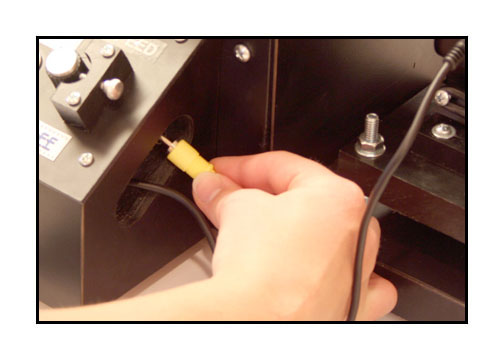
Plug video cable
into RCA jack as shown.
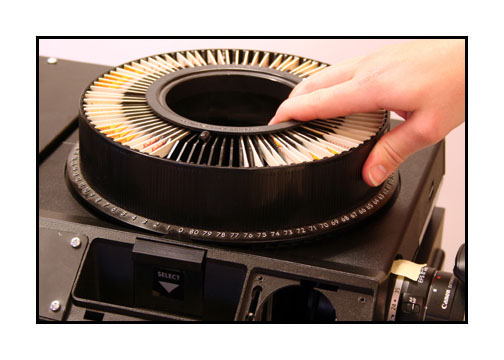
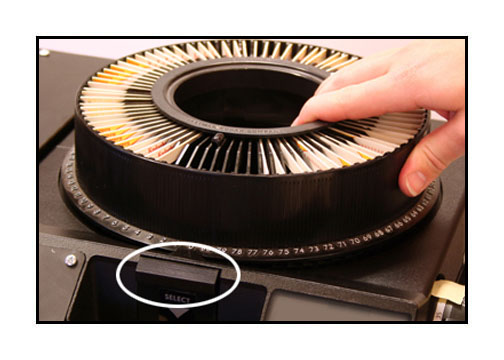
Load slide tray.
Make sure that all
slides are in the
horizontal position.
Vertical slides
will need to be turned
90 degrees on their side.
NOTE: If using an
automated cropping program, you
can leave slides
in the verticle position
if you use the Canon
50mm Macro lens. The image will be
reduced in size but,
if using a 12 megapixel camera,
the resolution should
be sufficient after cropping.
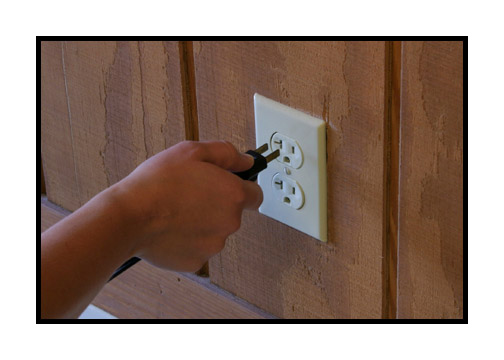
Plug unit into power
115VAC 60 cycle outlet.
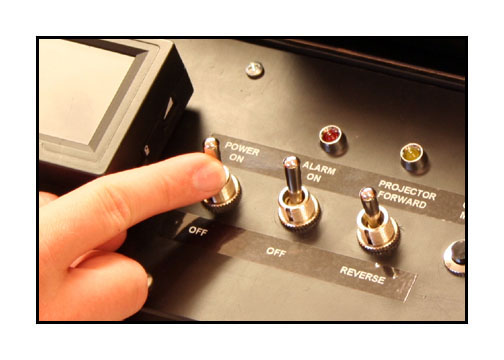
Turn on power.
Advance to first
slide using switch.
Focus camera and
note whether it
is aligned or needs
to be adjusted relative
to the slide frame.
It is advised to
crop into the slide
a tiny bit since the
aspect ratios of
the digital camera and the
35mm slide are not
exactly the same.
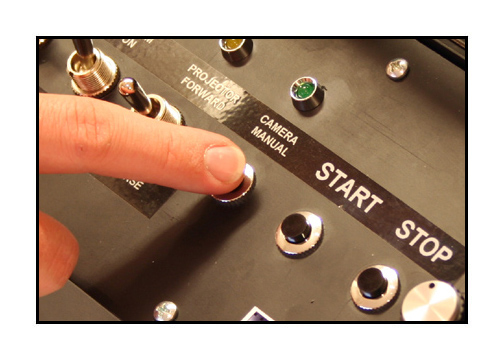
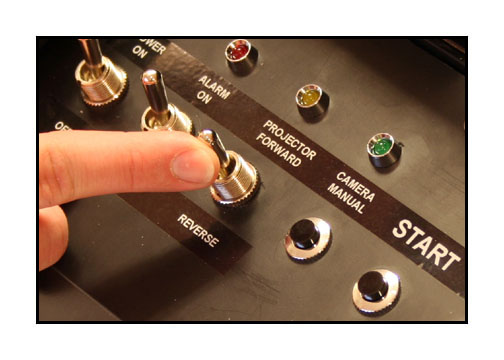
To capture a test
frame, just press the
"camera manual" button
as shown.
NOTE: The monitor
does not show the entire
video image. Therefore,
for critical alignment,
you will need to
capture a slide, then open
that file in Photoshop
or other image program
to see if you are
level, focused and aligned.
The monitor is an
assist to verify the progress
of the scanning process
and should not be used
to make aesthetic
judgements.
The camera platform
is prealigned but will
most likely need
to be adjusted. Take a sample picture,
remove the flash
card and load the image into Photoshop.
Note any changes
that need to be made to the alignment.
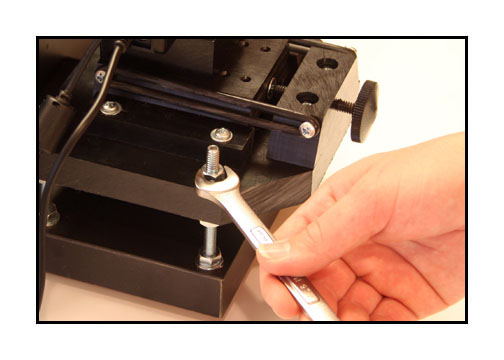
Use the 7/16 flat
wrench to adjust the positioning of the
camera. It is important
that the height of the platform
be the same from
front to back but not side to side.
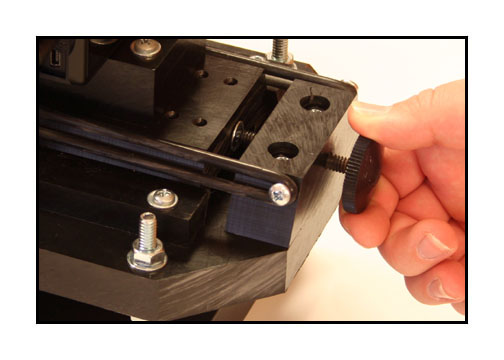
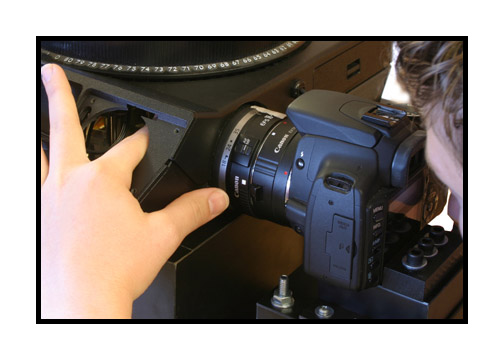
The position of the
camera and/or focus can
be easily adjusted
by turning the compound knob as shown.
Shoot additional pictures
and check them in Photoshop
until alignment is
level and centered. Once you have
critical alignment,
it is advised to not remove
or disturb the camera
again or realignment
will be necessary.
After verifying that
your alignment and focus
is good, replace
the side panel.
To start your scan, proceed as follows:
Capture the first
frame manually.
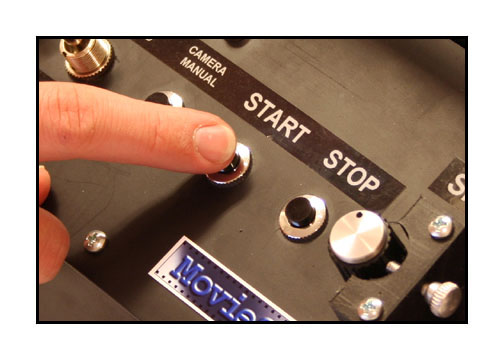
After you verify
the image in the monitor,
press the "start"
button.
The projector will
then advance and the
camera will automatically
copy a slide.
This cycle will repeat
itself until the
end of the tray or
until it reaches
an empty slot, at
which time the alarm
will sound.
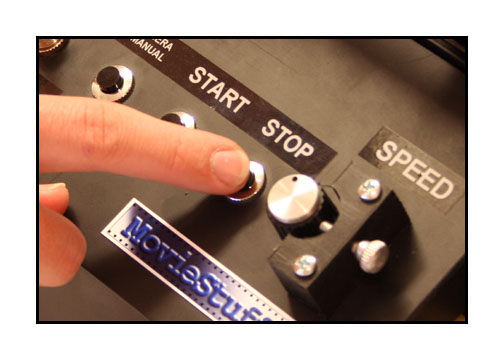
To stop the alarm
or to stop the unit
at any point in the
capture process,
just press the "stop"
button. If the unit
jams or tries to
start with an empty
slot, you will also
get an alarm. You may
need to press the
stop button twice.
NOTE: The alarm can
be silenced by turning it off.
The red LED end of
run indicator will still function.

The unit has been
preset to a speed that
is efficient for
most all Canon cameras. However,
you can change the
speed by adjusting the
speed control knob.
Turning to the right
will decrease the
speed and turning to the left
will increase the
speed.
NOTE: The fastest speed is determined by two things:
1) The darkest slide
because the
camera has to have
time to make the exposure
and
2) The write time of your camera.
Some cameras, like
the older EOS and
the XT, require several seconds to write
to the flashcard
and to also prevent overheating. Later cameras,
like the XTi and
the newer XSi, can write almost as fast as you can press the button but
you still need to allow for exposure time!
So don't set the speed
too fast or you will either still be
exposing when the
slide moves or you won't be through
writing when the
next camera capture command happens!
Some experimentation
will be required. Higher ISO settings can
allow for faster
capture rates but will increase the visible
grain of the image.
Also, RAW captures will require more time
than JPEG captures.
When completed, turn
off the unit and remove the tray.
If you are in mid-tray,
then depress the
release on the side
of the projector and rotate tray to "0" position.
At this point, you will have copied all the slides in your tray automatically. Bring all images into a program like Photoshop. The images may look dark because you set the camera to underexpose by 1 stop to protect the whites. Use the "Automate" function to apply the following changes to each slide: Vertical Flip, Auto-levels and Sharpen. You can do this manually to each slide but the "Automate" function will make it much easier. Consult your image program instructions in how to use the "Automate" function.
We hope to have a
custom application that will do this more easily
in the future so
that Photoshop or other image programs will not be required.
If you have any questions, email me or please call at 830-966-4664.
Roger Evans