Unpack the unit but do NOT plug it in.
You will need the
following:
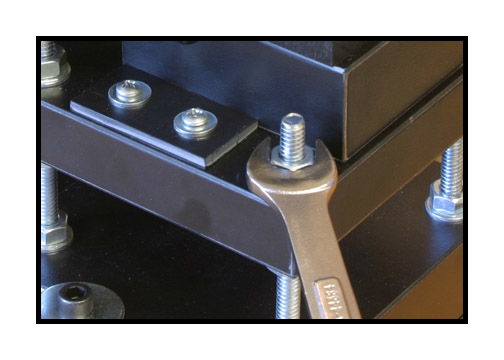
7/16th flat wrench
1/8th allen wrench
(also called hex key)
medium sized phillips
screwdriver
Sharp, bright, 35mm
horizontal slides loaded in a tray
Digital Rebel
Flashcard 512 megs
or bigger.
Power supply for
freshly charged battery.
Video cable that
came with camera.
Photoshop or similar
graphics program.
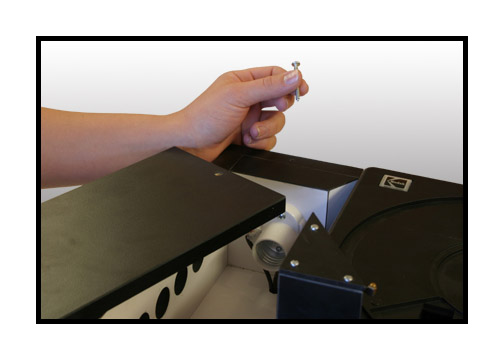
Step 1. Remove cover.
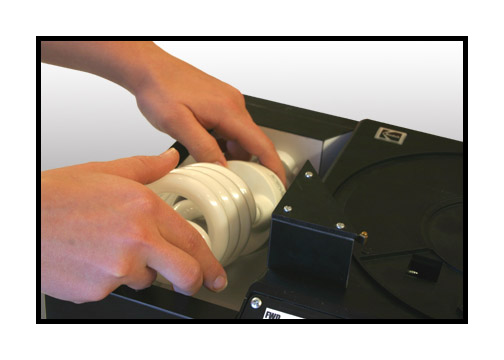
Step 2. Install lamp.
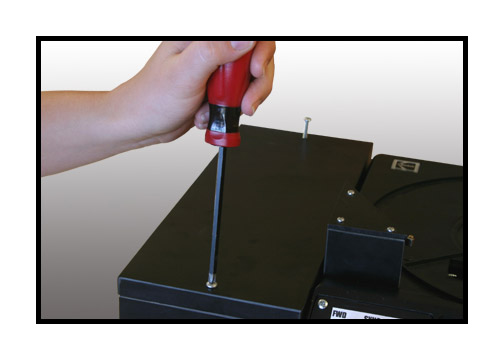
Step 3. Replace screws.
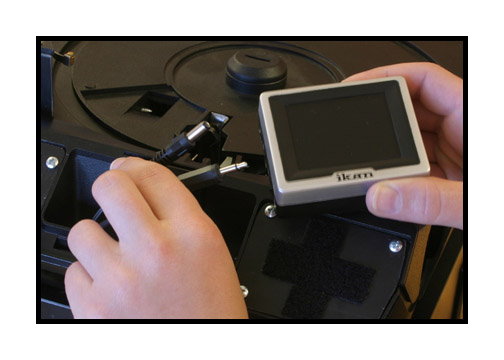
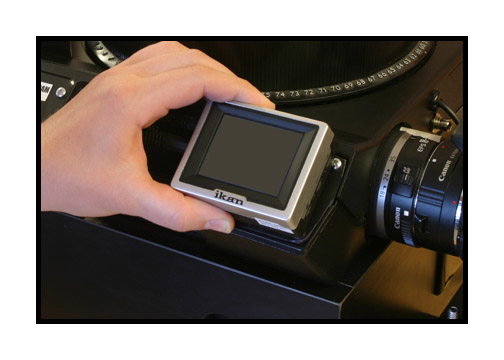
Step 4. Unplug cables
from monitor.
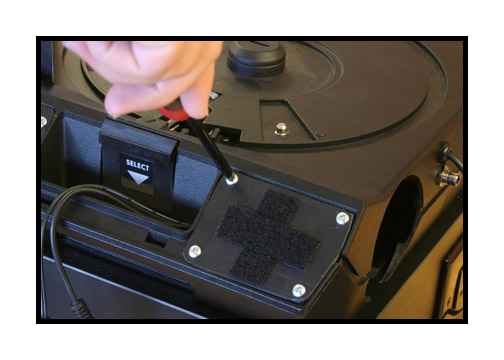
Step 5. Remove screws
from panel.
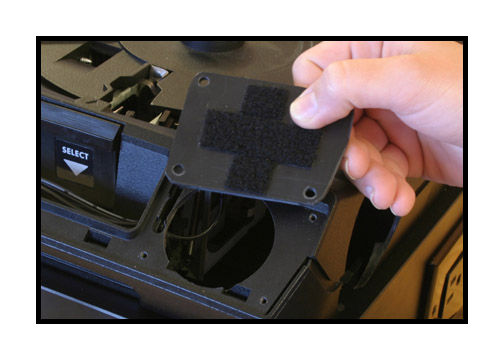
Step 6. Remove panel
and set aside.
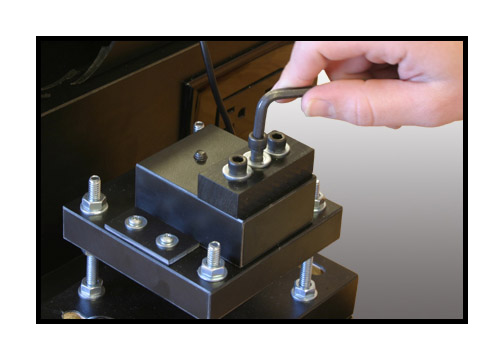
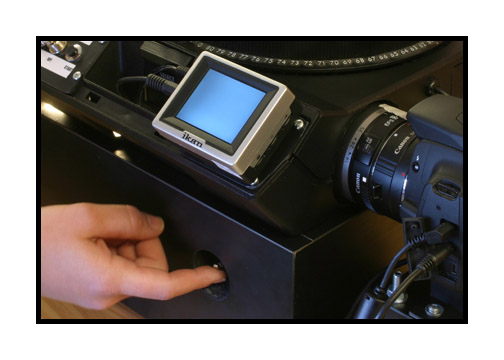
Step 7. Remove center
allen bolt only.
Do not remove the
other two bolts.
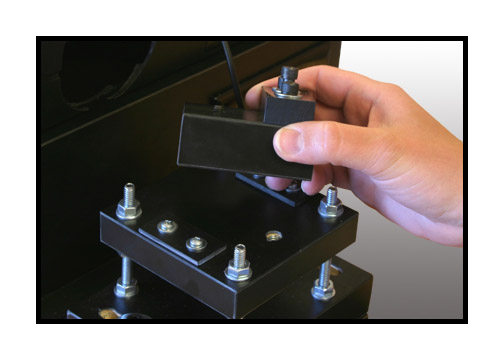
Step 8. Remove camera
block.

Step 9. Adjust zoom
to 55mm position.

Step 10. Tape zoom
securely in place so it will not rotate.
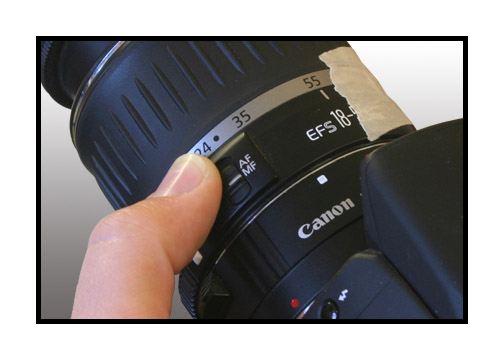
Step 11. Lock lens
in MANUAL FOCUS position.
If you have a power
supply for the camera, now is the
time to install it.
If not, install a freshly charged battery.
Consult your camera
instructions and put the camera
into the following
settings:
A/V Mode on the top
dial
ASA (ISO) 100
White Balance on
tungsten (the light bulb icon)
Set display duration
for constant.
Make sure that the
histogram function is off.
Set the aperture
to f22 (very important!)
Set the a/v settings
to -1 stop underexposure.
Set the quality settings
to high.
(Use the quarter
circle icon that is smooth, not stair-stepped)
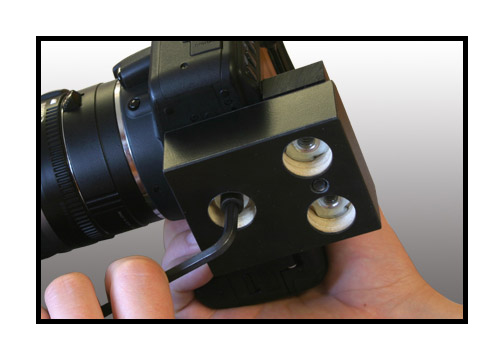
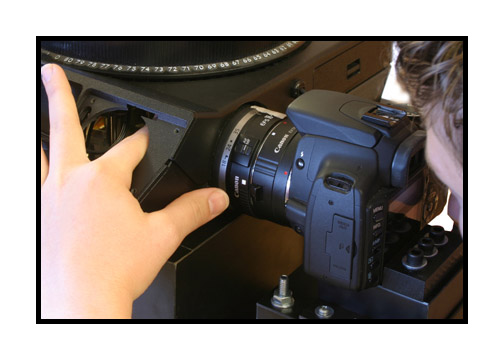
Step 12. Mount camera
on camera block securely.
The black plastic
bar should fit snugly against the back
of the camera. If
it doesn't, make sure the camera is
square to the block
and loosen and adjust the black
plastic bar so that
it is flush against the back
of the camera before
proceeding further.
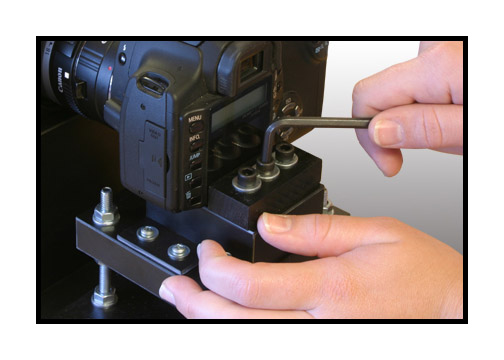
Step 13. Mount camera
and tighten center bolt snugly.
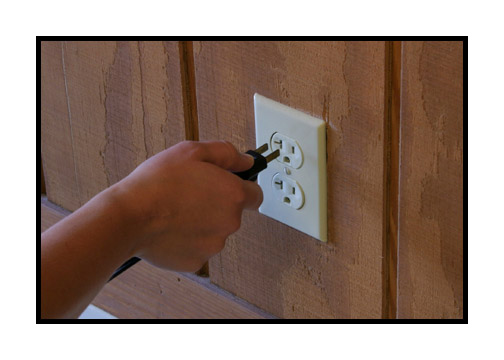
Step 14. Plug unit
into power 115VAC 60 cycle outlet.
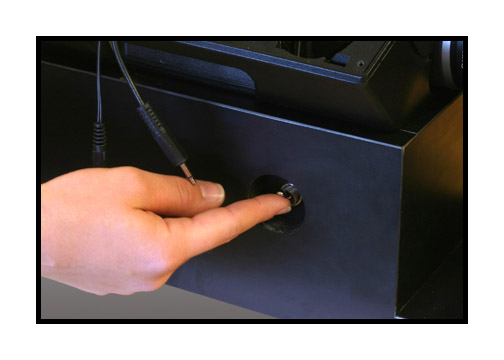
Step 15. Turn on
power.
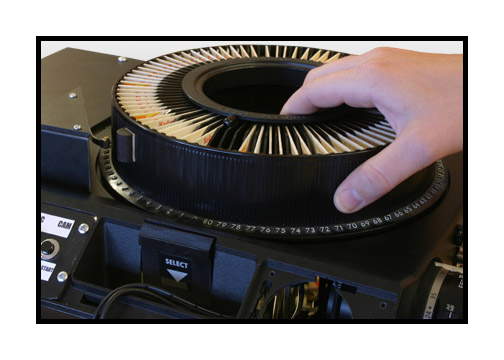
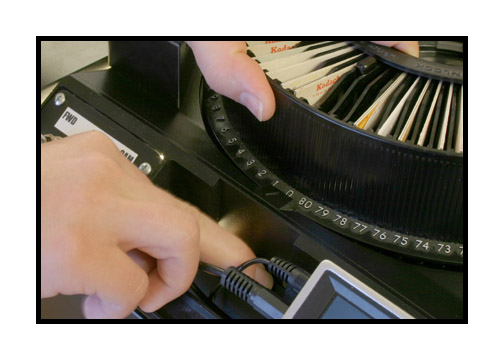
Step 16. Load slide
tray.
Make sure that all
slides are in the
horizontal position.
Vertical slides
will need to be turned
90 degrees on their side.
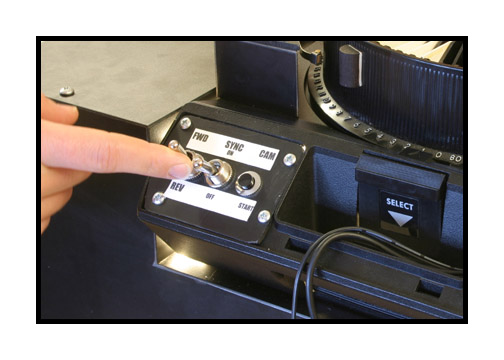
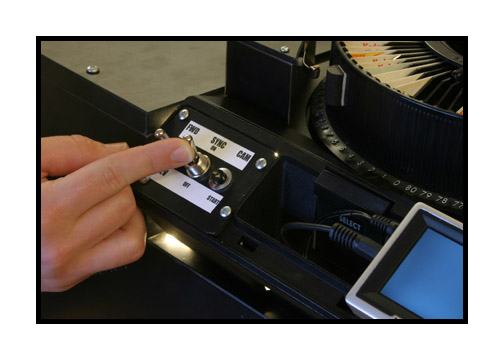
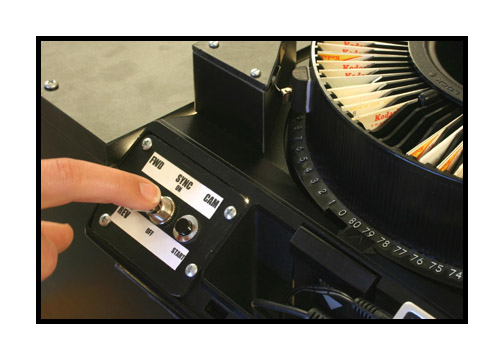
Step 17. Make sure
that sync is "off" and
then advance the
projector forward to slide #1.
Step 18. Focus camera
and note whether it
is aligned or needs
to be adjusted relative
to the slide frame.
It is advised to
crop into the slide
a tiny bit since the
aspect ratios of
the digital camera and the
35mm slide are not
exactly the same.
Step 19. The camera
platform is prealigned but will
most likely need
to be adjusted. Take a sample picture,
remove the flash
card and load the image into Photoshop.
Note any changes
that need to be made to the alignment.
Use the 7/16 flat
wrench to adjust the positioning of the
camera. It is important
that the height of the platform
be the same from
front to back but not side to side.
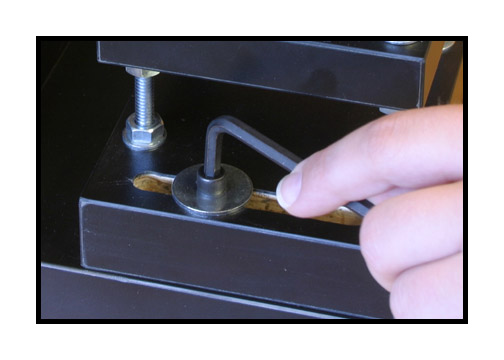
Step 20. If necessary,
loosen the allen bolt on the base
and adjust the cropping
by sliding the camera towards
or away from the
projector. Try to keep the platform
square to the projector
box.
Shoot additional pictures
and check them in Photoshop
until alignment is
level and centered.
Step 21. Turn the
power off.
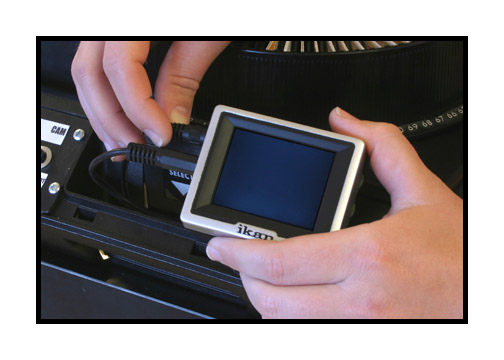
Step 22. Insert cables
into monitor.
Step 23. Replace
panel and remount monitor.

Step 24. Plug video
cable into projector.

Step 25. With camera
off, plug video cable and
remote cables into
camera.
Step 26. Turn projector
and camera back on.
Let projector sit
for a few moments and
let it cycle, if
necessary. If the projector
happens to advance
a single position at start up
(common to these
projectors) just use the forward
and reverse control
to put it back to the first slide.
Step 27. Turn sync
switch ON.
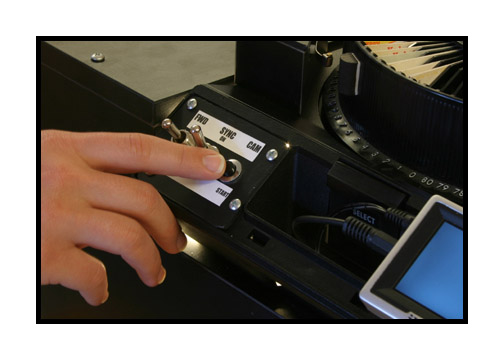
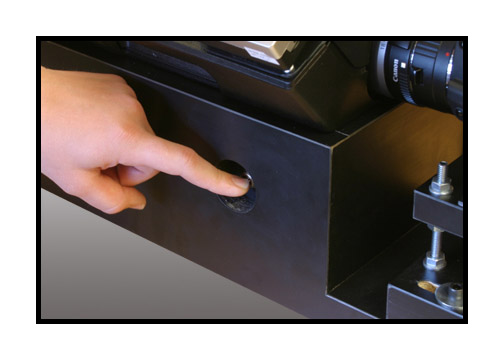
Step 28. Press CAM
start button.
The camera should
take a photo and then
an image should appear
on the monitor. The
projector should
advance and then a second
or so later, the
camera should take another
photo, etc. This
cycle should continue until it
gets to the end of
the tray and the beep sounds.
The unit comes with
adhesive "bumps"
that will let you
program a tray to stop
automatically if
it is not full. Just
put the tray on the
projector and rotate
the tray to the position
AFTER the last
slide you want copied.
Then place an adhesive
bump so that it depresses
the kill switch
next to the tray.
Step 29. When the
beeper sounds, turn the sync
switch to the OFF
position.
Step 30. Press the
side release and rotate the
tray to the beginning
and remove, if desired.
At this point, you
will have copied all the slides in your tray automatically. Bring all images
into Photoshop. The images may look dark because you set the camera to
underexpose by 1 stop to protect the whites. Use the "Automate" function
to apply the following changes to each slide: Vertical Flip, Auto-levels
and Sharpen. You can do this manually to each slide but the "Automate"
function will make it much easier. Consult your Adobe instructions in how
to use the "Automate" function.
We hope to have a
custom application that will do this more easily
in the future so
that Photoshop will not be required.
If you have any questions, please call me at 830-966-4664.
Roger Evans