For Regular 8 and
Super 8 mi-Skan units.
Not for mi-Skan D8.
NOTE:
This unit is NOT dual 8. It will only
transfer
one format or the other.
Unpack the unit but do NOT plug it in.
You will need the
following:
Can of compressed
air.
Shielded S-video
cable of appropriate length
Sharp, bright Super
8 or Regular 8 film with good sprocket holes
(this should be disposable
film to practice with)
Production monitor
Scissors
If
you are international on 220VAC at 50 cycles,
you
do not need a transformer for this product.
Plug in S-video cable
as shown
and connect to your
recording device.
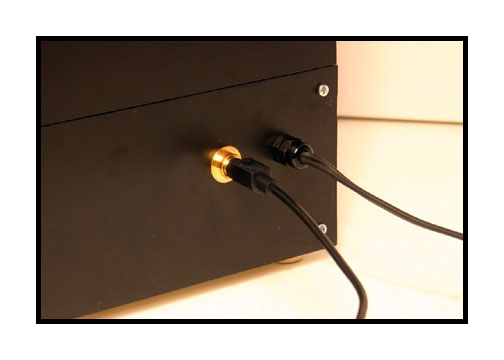
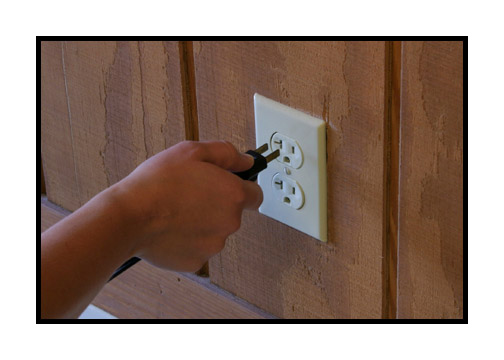
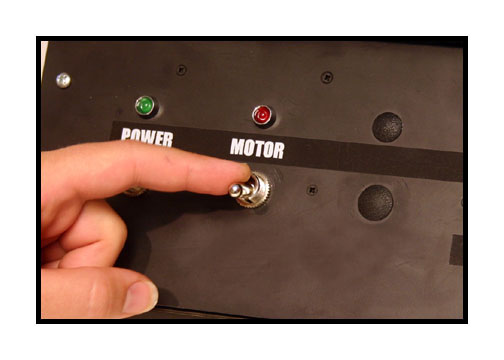
Plug in unit.

Turn power on.
Verify that power
light is on.
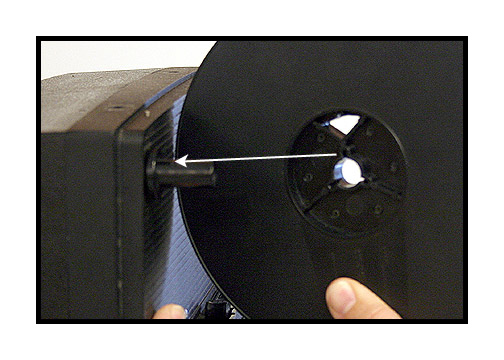
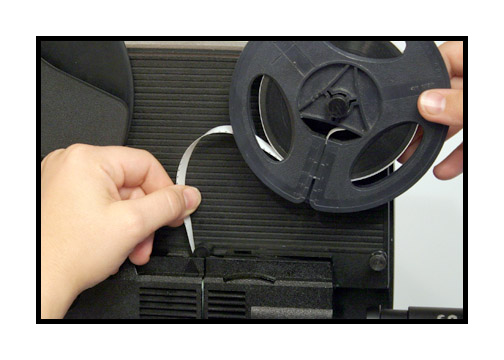
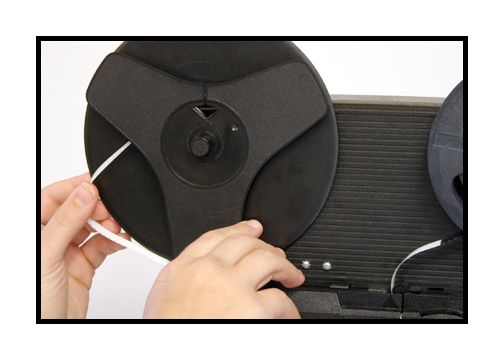
Put provided take
up reel on back spindle. Make sure
that the slot of
the reel is on the small "fin"
found on the spindle
hub.
NOTE: This reel is
critical to the balance
and tension of the
system. Always use this take up
reel for proper performance.
Also, your source
reel should be lightweight and balanced.
Avoid heavy metal
reels with small hubs (the part the film
wraps around). Use
reels that are very much like the
take up reel for
best performance: Lightweight, balanced
and open so that
the reel does not bind the edges of the film.
Use of heavy, unbalanced
reels can interfere with
proper performance
and lead to flicker.
Also, make sure that
all film is cleaned and prepped.
All sprocket holes
should be in good shape and
the film should be
projectable for a stable image.
We recommend using
Edwals
AntiStat film cleaner.
Solvon is another suitable film cleaner.
Do not use FilmGuard
on these units.
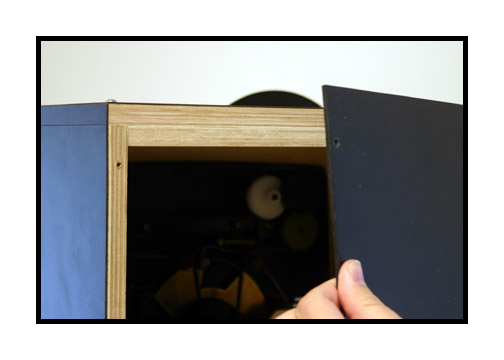
Remove side cover
by squeezing the top
and bottom of the
panel and gently pulling loose.
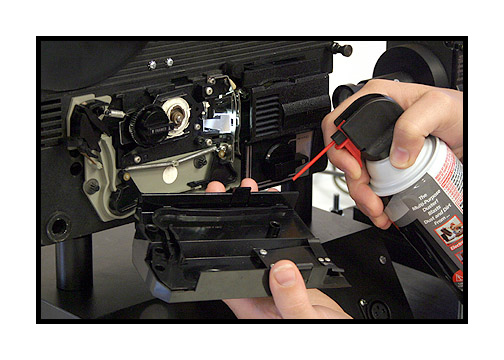
Blow out film channel
on inside of cover.
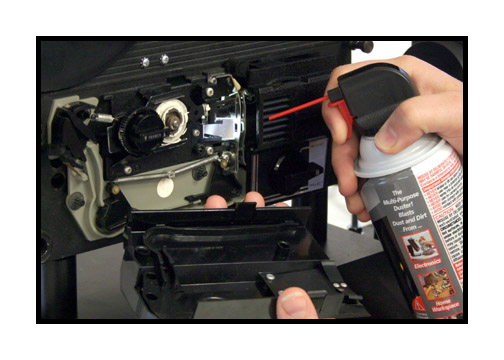
Blow out film gate.
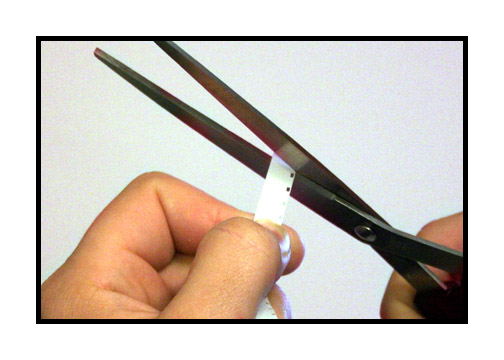
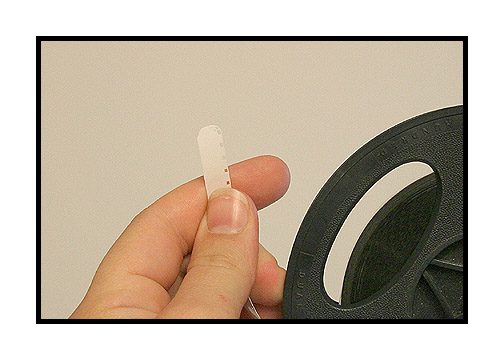
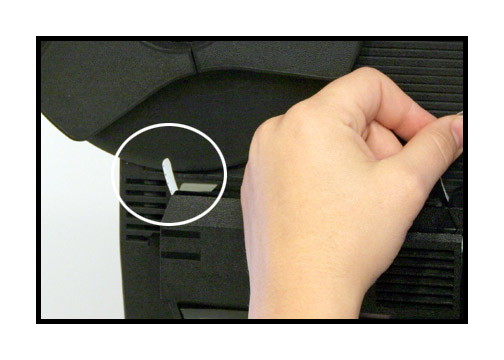
Cut tip of film leader
in a curve.

For regular 8mm reels,
remove the super 8 adaptor.
Grab by the black
plastic only. Do not press down
on the silver metal
clip. Firmy but gently pull.
There is an 8mm spindle
underneath.
Step to right of
unit and use
your left hand to
push film into the gate.
(I know this seems odd but it is
easier than using your right hand.)
Only push about an
inch at a time.
If you feel resistance
after about an inch,
the film may be hitting
the advance claw. Turn the motor
on and off quick
one time to retract the claw.
Repeat if necessary
until the film will feed easily.
DO NOT TURN ON THE
PROJECTOR AS THIS UNIT HAS NO AUTOFEED.
Keep pushing the
film until it exits the back of the projector.
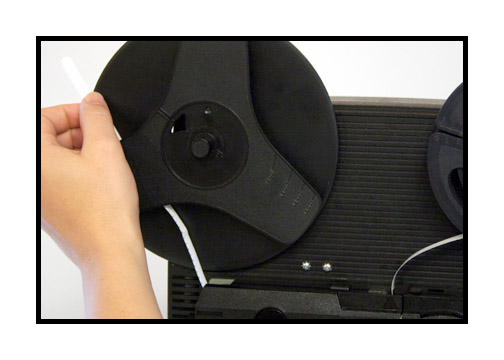
Pull film through
projector.
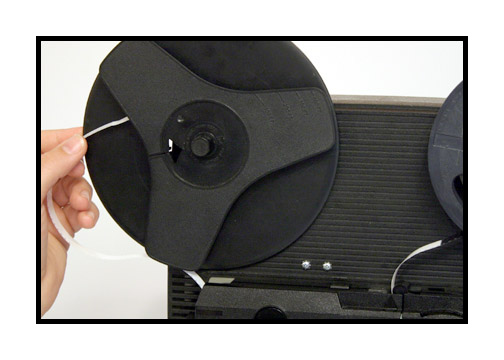
Lay film on reel
and let sprocket holes catch barbs on hub.
(some reels may not
have the barbs, in which case use the slot)
Turn reel while keeping
film tension and take up slack.
NOTE: Never try to
load the film by taking the side cover off.
You can unload in
mid-roll but do not attempt to load in that fashion.
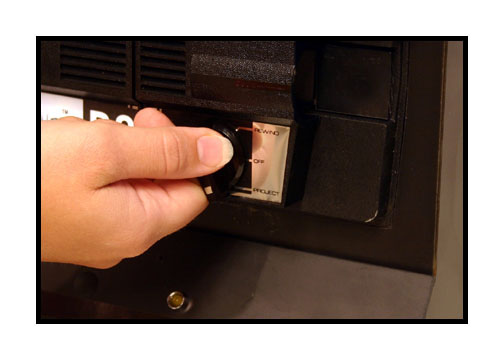
Close gate by turning
knob to "project" or "lamp".
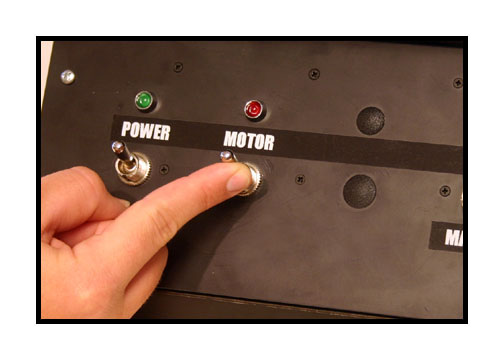
Start the film running
by turning on the motor.
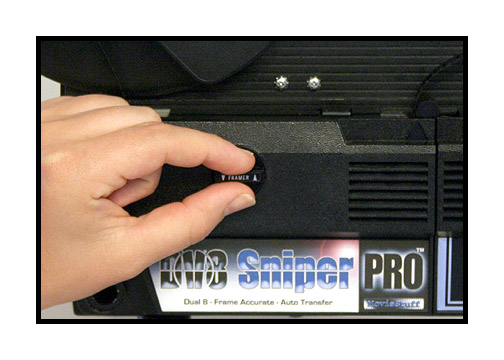
Adjust the framer
knob until the frame is centered
in the gate of the
projector.
(the framer knob
only works while the film is running)
It should be noted
that most televisions
do not show the entire
video frame. Use of an underscan
monitor for positioning
of the image is highly recommended.
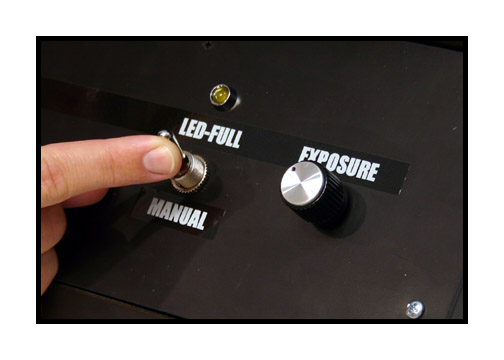
If you need maximum
light, leave the switch
in the FULL position.
This is useful for the occasional
under exposed film.
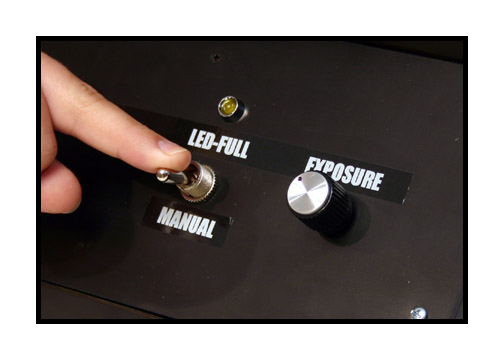
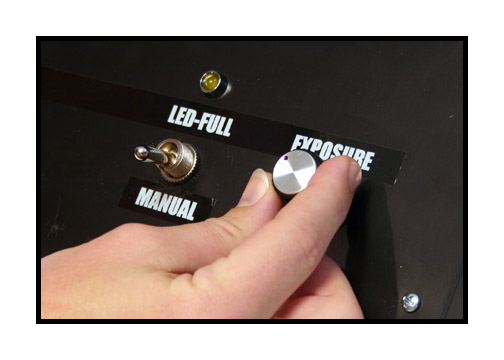
If you need to adjust
the exposure, put the switch in
the MANUAL position
and use the exposure knob.
When finished transferring,
turn the motor off.
During set up, if
you need to rewind the film a bit
to a previous section,
switch the motor off and open the
gate by turning the
control knob to off.
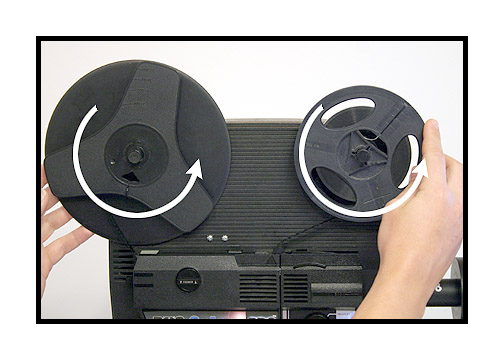
Manually move the
film forward or backward
but turning the reels
in the appropriate direction
at the same time,
to relieve tension.
If the film is caught
on the advance claw, just turn
the motor switch
on and off briefly to retract the claw.

After transfer, always
rewind between reels
outside the projector
mechanism to prevent film damage.
For efficiency, rewind
using separate crank winders.
Normally, the framer
knob will provide all the
tilt function that
you require. However, it is possible
that the internal
camera may become get out
of adjustment during
shipping, which can affect
the alignment as
well as the focus.
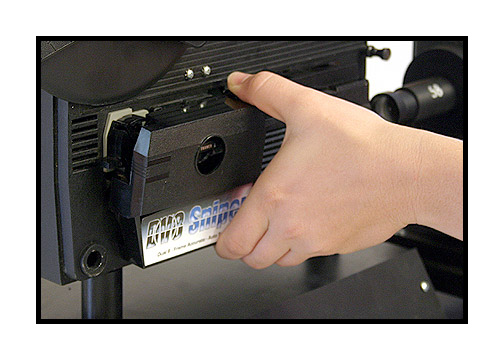
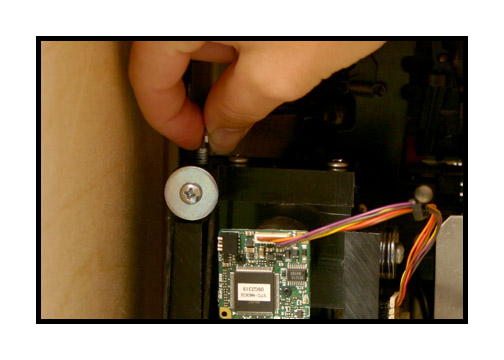
To adjust the camera
(if necessary)
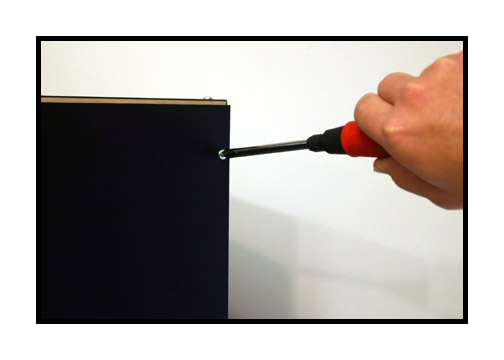
Remove the back panel
as shown using a Phillips screwdriver.
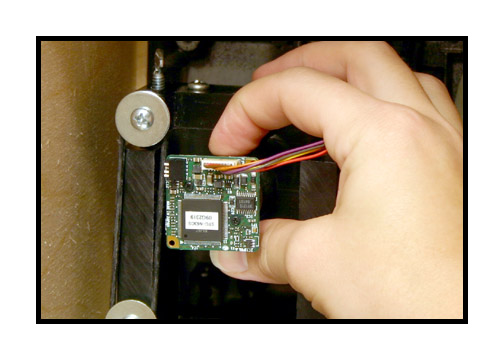
To adjust the left
to right placement of the camera
as well as the overall
focus, loosen the
two Phillips screws,
watch the monitor
for good focus as
you move the camera, then hold the camera
in position as you
tighten the screws. Once the
camera is set, it
will not lose focus again.

To adjust the level
(horizon) of the camera,
grab the black camera
tube (do not grab the camera, itself)
and gently rotate
until the image is level.
As noted
previously, you should
be using an underscan
production monitor
to judge whether the camera is
truly level as regular
televisions do not show the
entire picture edge.
To adjust the vertical
placement (tilt) of the camera,
slowly turn the thumb
screw one direction or the
other as you watch
the image on screen. This is a general
adjustment to make
sure the image is centered in the
gate of the projector.
All normal adjustments during
transfers should
be made using the framer knob while
the unit is running.

If you have any questions,
please feel free to call
Roger Evans at 830-966-4664.