Unpack the unit but do NOT plug it in.
You will need the
following:
Can of compressed
air.
S-Video cable of
appropriate length
If
you are international and have 220VAC at 50 cycles, then you
will
need a transformer that outputs 110-120VAC at 250 watts.
Make
sure that all film has been cleaned and prepped.
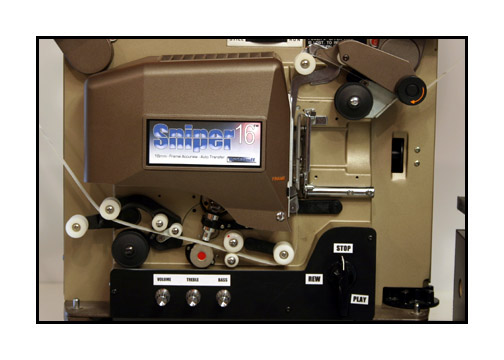
Set camera in cradle.
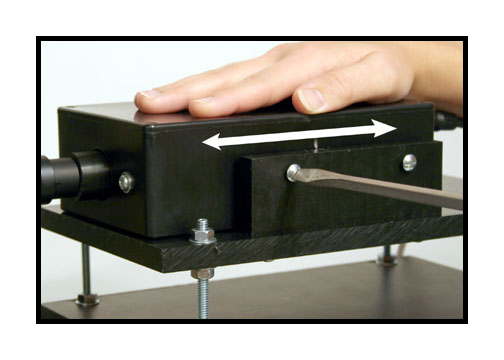
After you load projector
with film, slide
the camera in and out to focus
the image. Do NOT
turn the lens to focus.
Once focus is achieved,
you can lock the
camera into position
by gently tightening the screws.
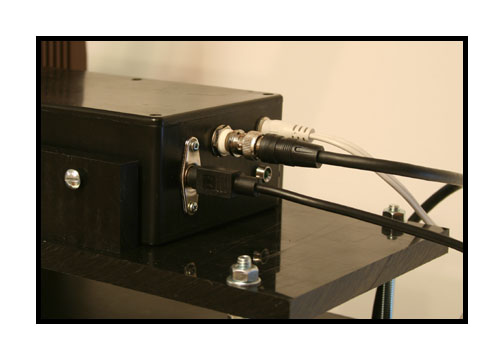
Install camera cables
as shown.
(S-video, supplied
BNC cable and power)
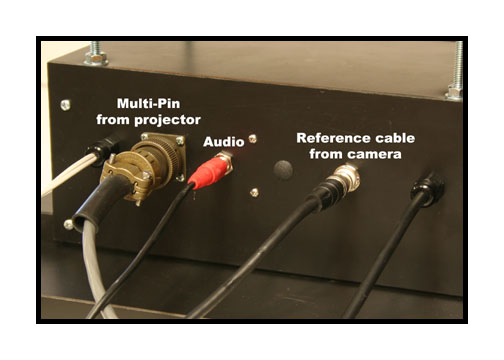
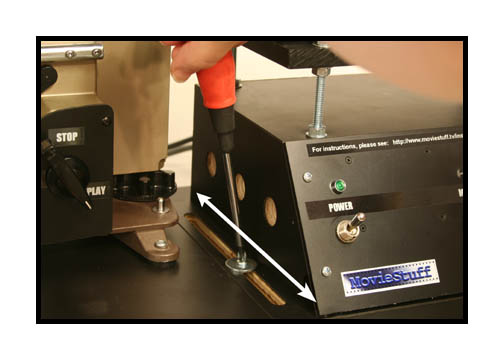
Install control box
cables as shown.
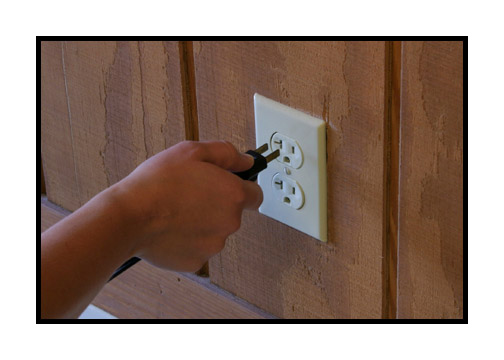
Plug in unit.
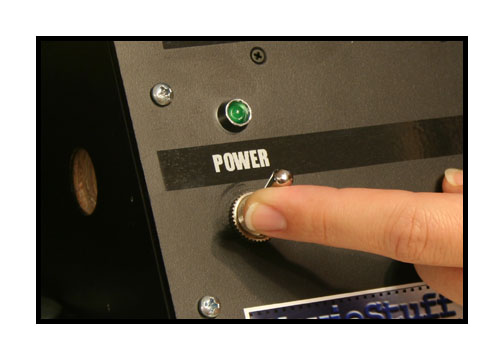
Turn power on.
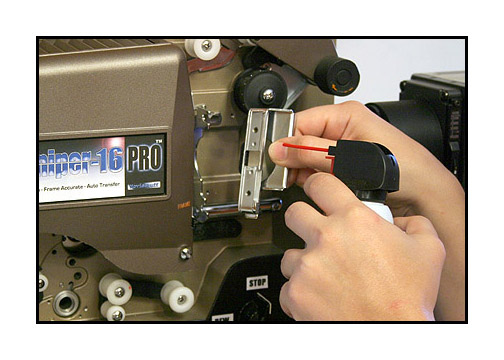
Remove and clean
pressure plate.
(do this after each
roll for best results)
Note the path of
the film.
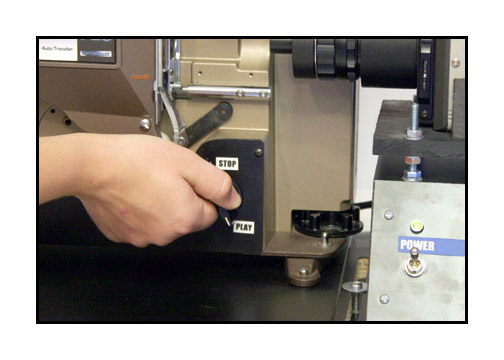
Close gate by turning
knob to "play".
Seat the film in
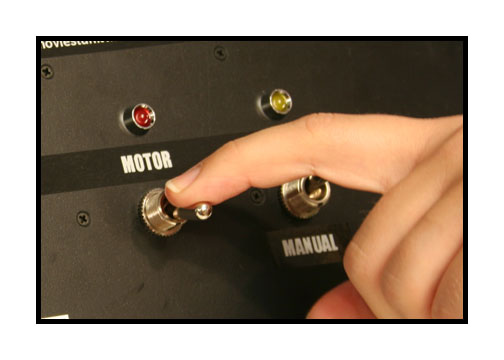
the gate by turning
the motor switch
on then off one time briefly.
Watch your monitor
and adjust the
camera side to side
by loosening the mounting screws.
Leave loose until
camera is aligned then tighten securely.
Focus the image by
sliding camera
and then tighted
the screws.
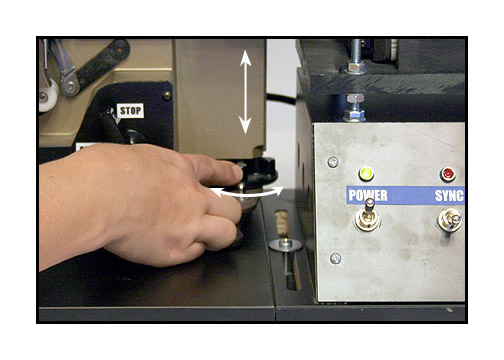
Adjust the height
of the image
by turning the wheel
at the foot of the projector.
This action may require
refocusing of the camera.
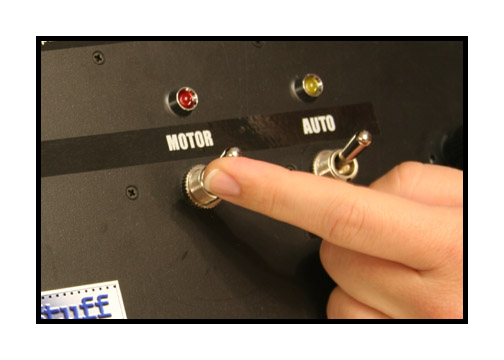
Start your transfer
by turning on the motor.
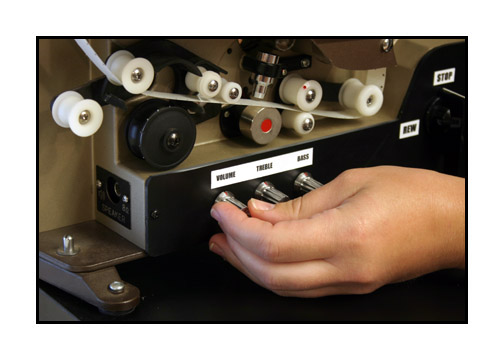
Sound level of audio
can be adjusted using
the controls on the
front of the projector. Audio
is usually okay with
markings in the "12 o'clock" position.
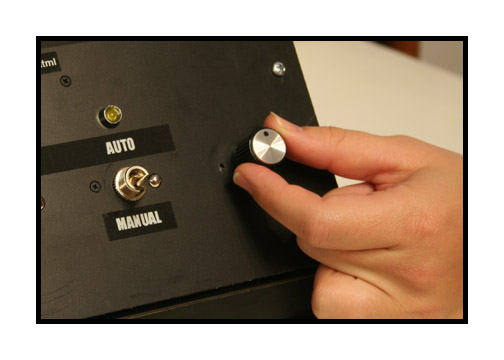
For exposure control,
switch to manual.
Adjust the knob until
you see the exposure you desire.

If you have any questions,
please feel free to call
Roger Evans at 830-966-4664.