Unpack the unit but do NOT plug it in.
POWER: If on international power at 220-240VAC at 50
cycles, you will need
a transformer that outputs 120 volts at 250 watts.
The plug is standard for North America but can be adapted
to local international standards using adaptors found
in most hardware stores.
You will need to set your shutter speed to 1/60th of
a second for NTSC or 1/50th of a second for PAL.
Image stablization or steady shot should be turned
off.
Avoid using progressive scan or "frame mode".
Just the normal interlaced video mode is needed, even
if using HD.
NOTE: Some HD cameras have CMOS sensors instead of CCDs. CMOS sensors use a "rolling shutter" while CCD sensors use a "global shutter". While global shutters work best, rolling shutters will also work well with this unit but you may occasionally detect an anomaly from the CMOS sensor as it scans from top to bottom. This is very, very rare but is a product of the CMOS rolling shutter and would be seen as a very, very light band that makes its way from the top of the screen to the bottom and would be visible on only the lightest of images such as open sky. Again, this is very rare and is not a defect in the CineMate unit but, rather, a product of the CMOS sensor of some cameras. CCDs will never produce this effect and not all CMOS sensors will and, even if present, should not prevent you from creating quality transfers.
Best results and best registration is achieved if your film has been freshly cleaned and lubed with good splices and no torn sprocket holes. Always use the take up reel provided as the unit has been tension calibrated or use with that reel. Supply reels should be inspected for warpage or anything that will impede the even feed of film from the reel. Feed reels that bind or grab the edges of the film may cause registration problems or even film damage. Head leader should be fairly straight without a lot of "curl memory" that will impede proper loading.
After unpackaging the
unit, place on a sturdy and stable surface.
The end with the condenser
lens should allow for a tripod to be placed
about a meter or less
from the unit with clearance enough
for the tripod legs.
The tripod should have an adjustable height via
a column and the head
should allow for seperate horizon and tilt functions.
Ball-head tripods
should be avoided.
First, install the
condenser lens.
(glass should be cleaned
with non-alcohol products and a clean, cotton cloth)
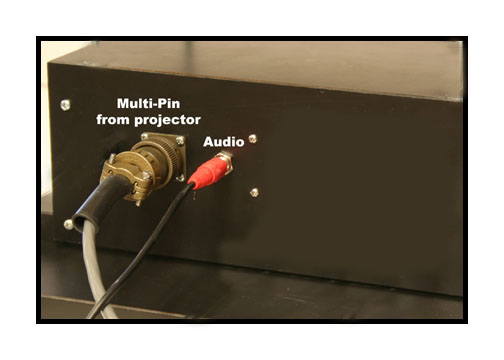
Install control box
cables as shown.
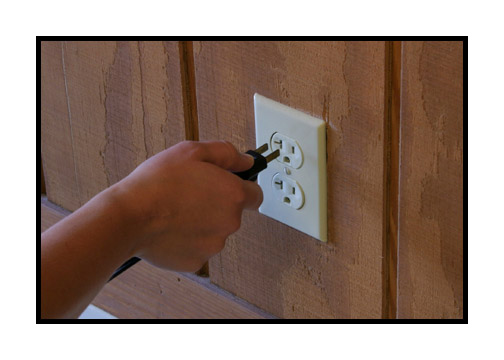
Plug in unit.
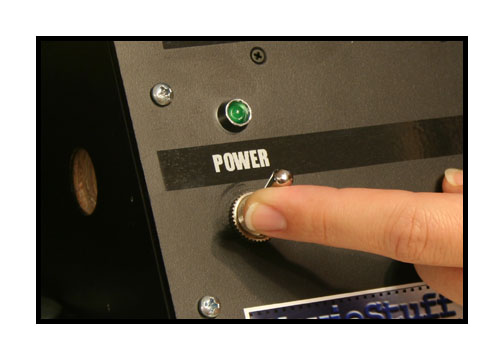
Turn power on.
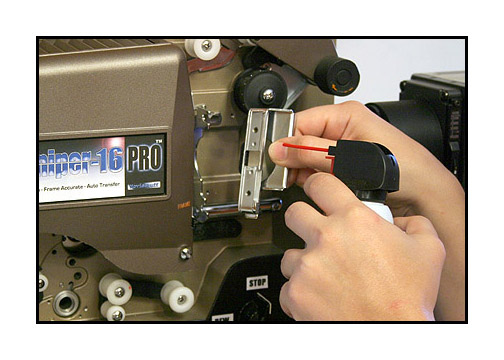
Remove and clean
pressure plate.
(do this after each
roll for best results)
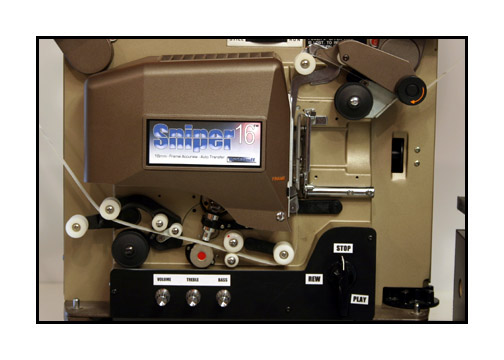
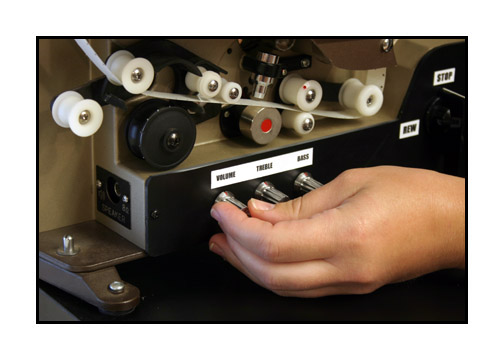
Note the path of
the film.
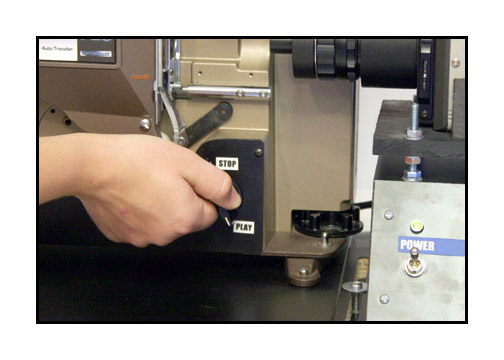
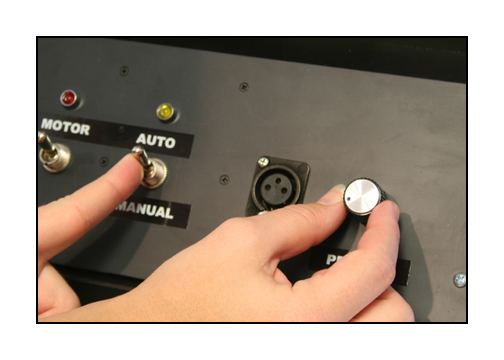
Close gate by turning
knob to "play".
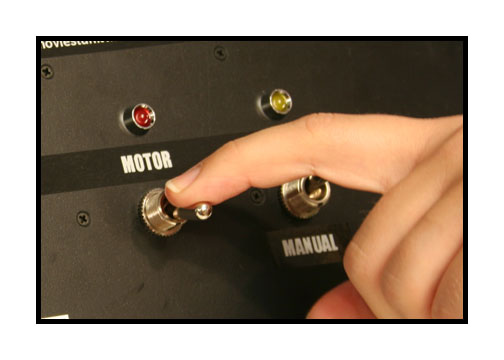
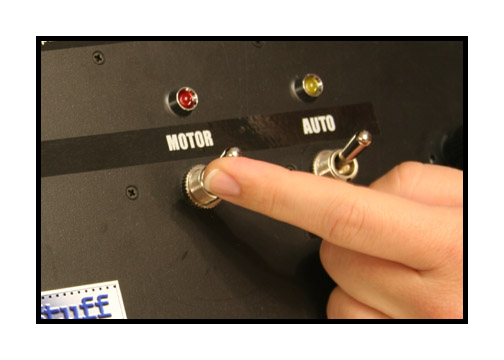
Seat the film in
the gate by turning
the motor switch
on then off one time briefly.
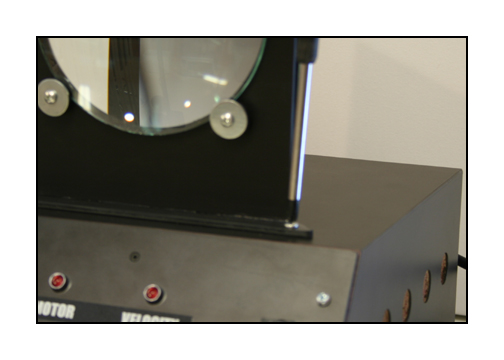
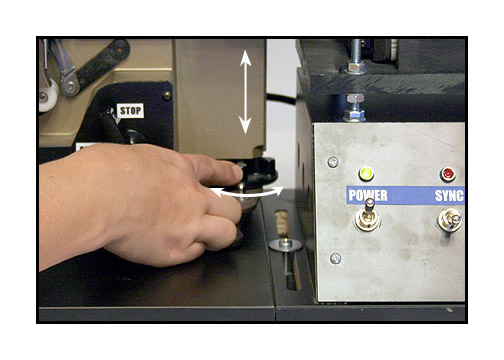
Various films have
different frame line placements. To make minor adjustments
in the vertical positioning
of the frame, use the adjustable foot at the front of
the projector as shown.
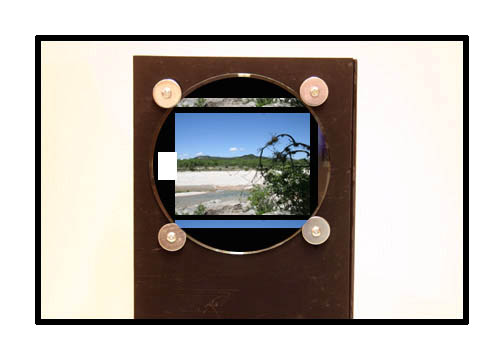
Position the camera
about 2.5 feet from the lens. Look at the monitor
for distortion of
the image. If there is curvature of the image top and bottom
then you need to adjust
the focus knob of the projector to correct. This will make the image
go out of focus, which
is normal. Always reclaim your focus using the camera lens.
Never use the projector
focus knob to adjust focus. The projector
focus knob should
only be used to correct for distortion.